Last updated on March 5th, 2025
An immersion heater heats the water in a cylinder (hot water tank), typically on a timer, so you always have hot water when you need it. These heating elements and thermostats can become faulty and need to be replaced.
I have been a full-time plumber for over a decade and I get called out to boiler replacements and repair jobs like this regularly. In this post, I’ll go through my processes for replacing immersion heaters thermostats and heating elements.
No hot water from immersion heater
An immersion heater is heated with electricity using a heating element and thermostat. Both parts can become faulty and need replacing, but you must confirm you are getting 240v of electricity at the immersion heater before replacing either.
It could be a fuse or power supply problem causing you to get no hot water from the immersion heater.
Immersion heater thermostat replacement
After confirming the thermostat is faulty (with a multimeter) and you have bought a replacement thermostat, it’s time to replace it.
How to replace an immersion heater thermostat:
1. Isolate the power
The first step is to isolate the electric supply. This can be from the fused spur that the immersion heater is wired to, or at the main consumer unit (fuse board) where all the circuit breakers or fuses are.
You should only isolate the electric circuit (or fuse) that the immersion heater thermostat is powered by as turning all the power off means the freezer will be off also.
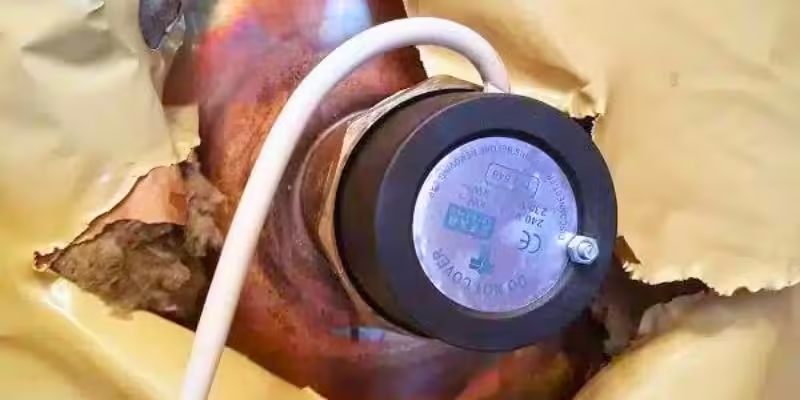
2. Remove the old thermostat
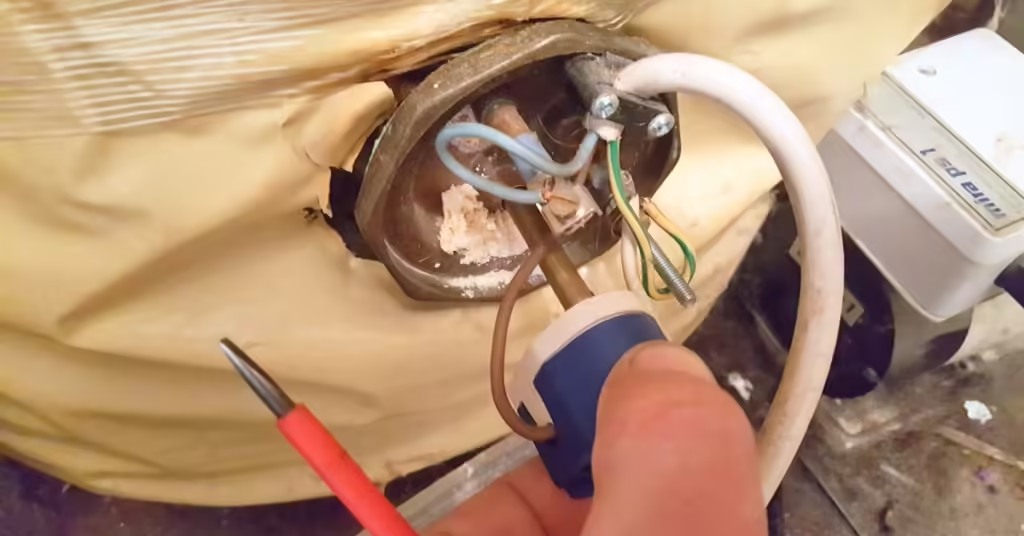
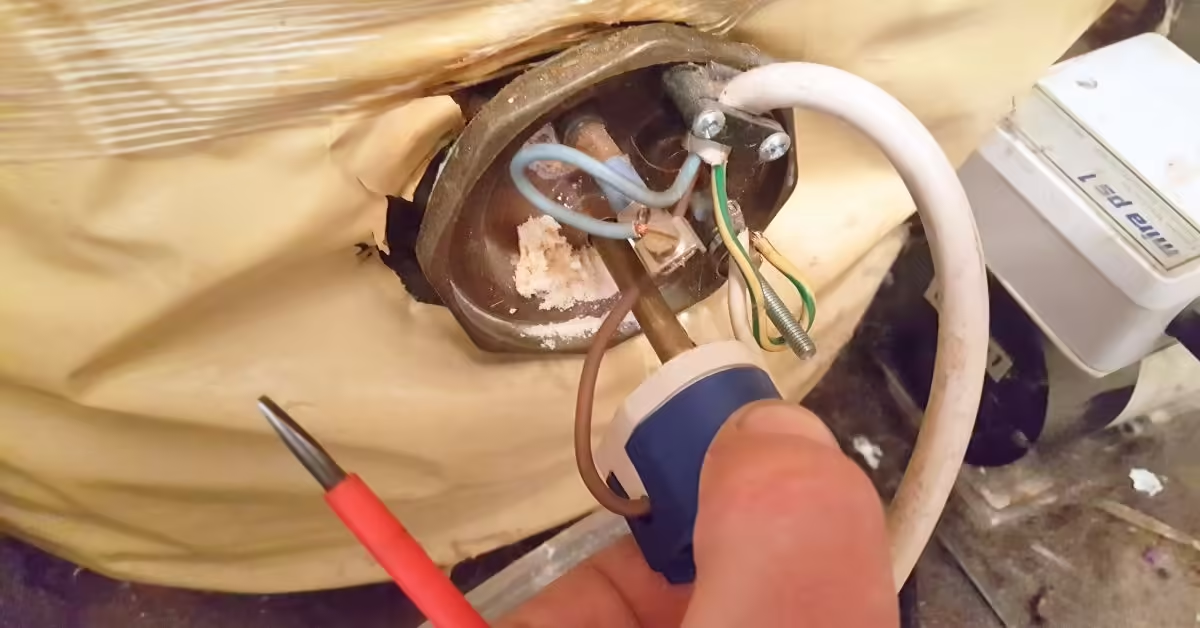
First, you need to remove the cover from the thermostat. You can do this using an adjustable spanner or screwdriver.
Then, you will need to remove the 3 wires using a small flathead screwdriver and pull out the thermostat from the immersion heater. I recommend getting a VDE-insulated screwdriver that will protect you from any electric shocks.
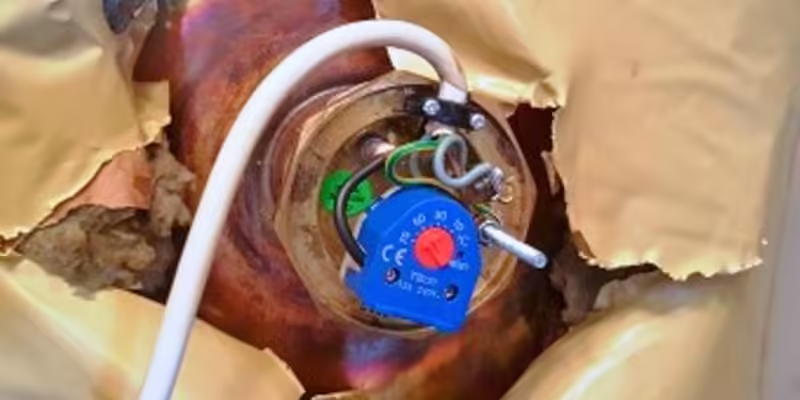
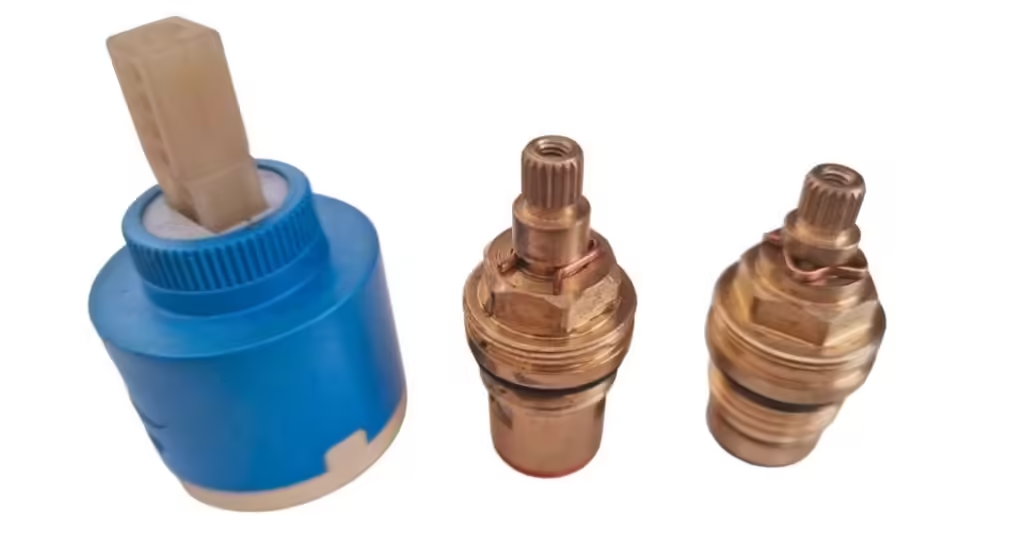
3. Fit the new thermostat
Insert the thermostat and wire it up using the instructions supplied with the thermostat.
- The live wire goes to the thermostat
- The neutral wire goes to the heating element
- The neutral wire from the element goes to the thermostat
- The earth wire goes under the nut on the threaded rod
Then put the cover back on and tighten the small nut or screw.
Immersion heater element replacement
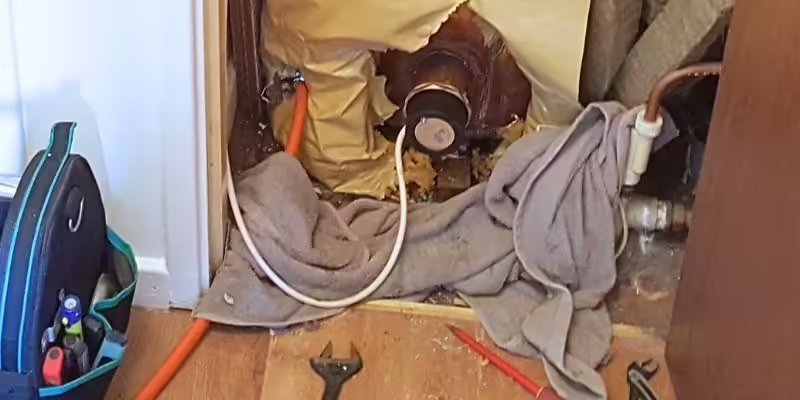
Replacing the immersion heater element is hard and risky on an old copper cylinder. The copper can tear which means the cylinder will need to be replaced.
How to replace an immersion heater element:
1. Drain the hot water tank
First, you’ll need to drain the water out of the hot water cylinder.
This can be a very difficult and slow process, but here’s what you need to do:
- Turn off the water at the main stopcock
- Open all the hot taps to drain the water from the header tank (this won’t drain the cylinder)
- Wait for the water to stop coming out of the taps
- Connect a drain down hose to the drain off valve which should be at the bottom of the cylinder
- Run the hose to a drain outside
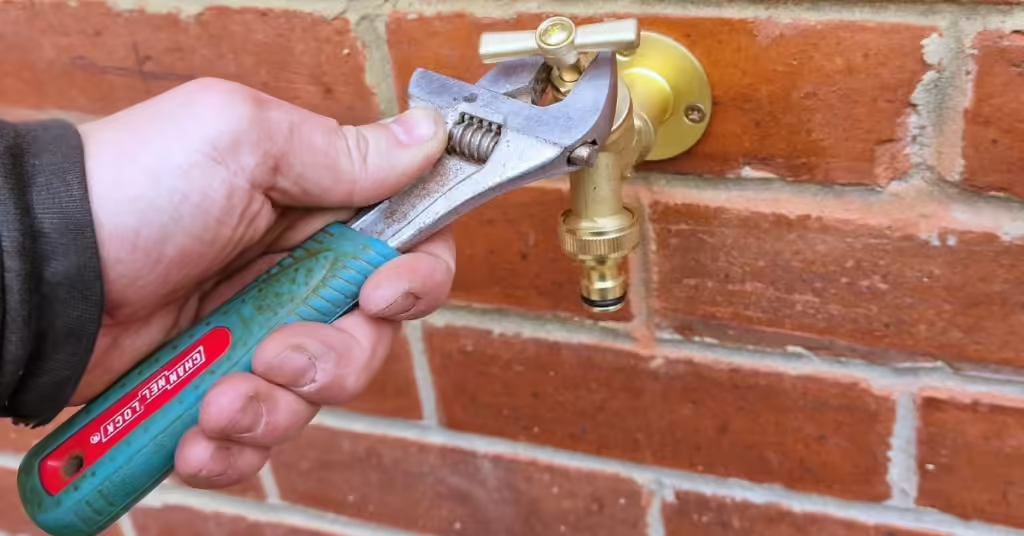
- Open the drain-off valve with an adjustable spanner by turning it anti-clockwise
When fully drained, you should be able to shake and slightly move the cylinder. You will be able to tell when it’s empty.
2. Remove the heating element
To remove the heating element from the hot water cylinder you will need an immersion heater spanner.
- Remove the thermostat by following the steps above
- Fit the immersion spanner over the large nut
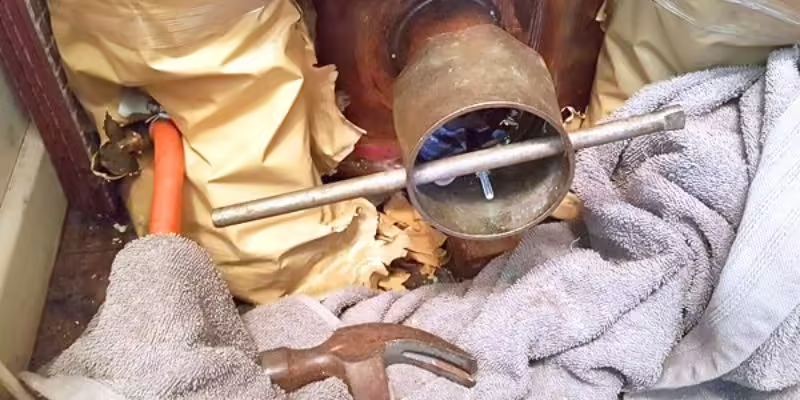
- Turn the spanner anti-clockwise
- Tap the spanner with a hammer if you can’t turn it with your hands
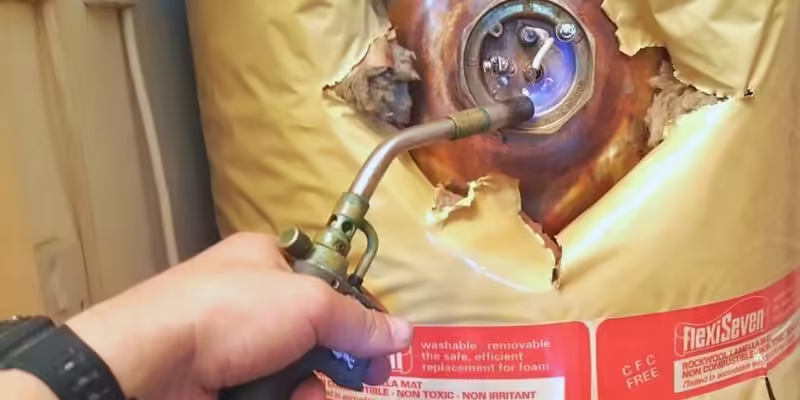
- Heat the brass part of the heating element with a blow torch if you still can’t turn it
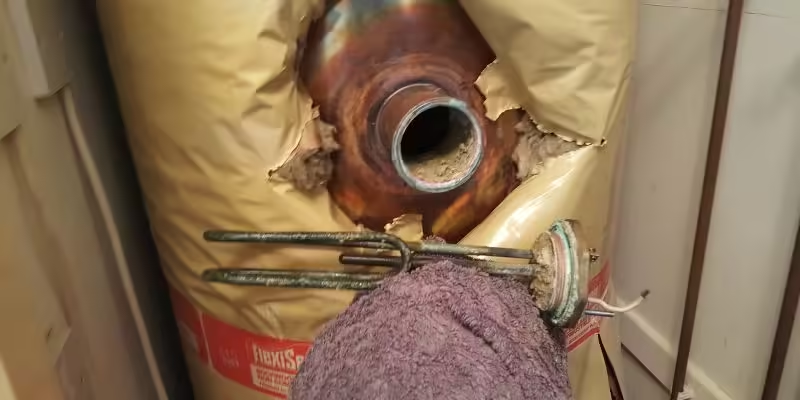
- Unscrew the heating element and remove it from the cylinder
- Clean up any dirt and debris from inside and around the opening
Always use caution when removing the immersion heater thermostat heating element. You can easily damage a copper cylinder, and you might end up having to replace the cylinder.
That’s the hard part done, now for the easy part.
3. Fit the new heating element
Time to fit the new immersion heater element and thermostat.
- Make sure the sealing washer is on the new heating element
- Put some jointing compound on the threads
- Screw the heating element into the cylinder and tighten it with a spanner
- Fit the thermostat
4. Refill the cylinder and check for leaks
Refilling the cylinder can take a while.
Here’s what to do:
- Close the drain off valve where the hose is connected
- Close all the taps
- Turn the water supply back on
- Wait for the header tank and cylinder to refill
- Check for leaks and if all is OK, turn the electric supply back on
- Turn the hot water on and make sure it’s getting heated
Summary
Replacing an immersion heater thermostat is a simple job if you understand basic electrics, just be sure to isolate the electric supply properly.
An immersion heater element replacement is a whole different ball game. If you are not very competent in plumbing, you should probably hire a plumber to do it.
Feel free to ask any questions in the comments below, and I’ll do my best to help. If you found this post helpful, please consider sharing it.


Thanks, I think I’ll get a plumber to do it!
Yes Richard, you should definitely get a plumber if you haven’t done anything like this before.
Bought a new thermostat, {Backer18}. Won’t push into the hole that comes out of the element. If it just sits there it leaks.
Anyone got any experience of this problem and how did you overcome it?
Any help would be most appreciated.
Hi Chris, I would have to have a look at it to give you any advice. You can send me a photo if you like
Um, sorry to be electrically declined but I found this side but it doesn’t say which way is which on the thermostat! Which side, left or right, does the live brown wire connect to? There are two holes on the thermostat, one on the left and one on the right. ( This is with the blue curved bit of the thermostat pointing upwards as per your picture… Your diagram appears to show the black little neutral connector wire going to the left… but I’m sure mine came out from the right of the old one, so I’m confused, help!
Hi Nick, if you give me the model number of your new thermostat, I should be able to help no problem.
The procedure shown is far more complicated than it needs to be. If you only need to change the thermostat there is no need to drain the tank or remove the immersion heater itself. The thermostat sits in a sealed tube in the immersion heater so all that is needed is to disconnect the power wires from the thermostat (after disconnecting the power supply of course) and pull the thermostat out of the tube. Then install the new thermostat in reverse order. Simples!
Correct John, but this is showing how to replace the heating element also for people who need to. I should maybe edit the post though and split it in to sections to make it easier for people who only need to replace the thermostat. Thanks for your input.