Last updated on April 20th, 2025
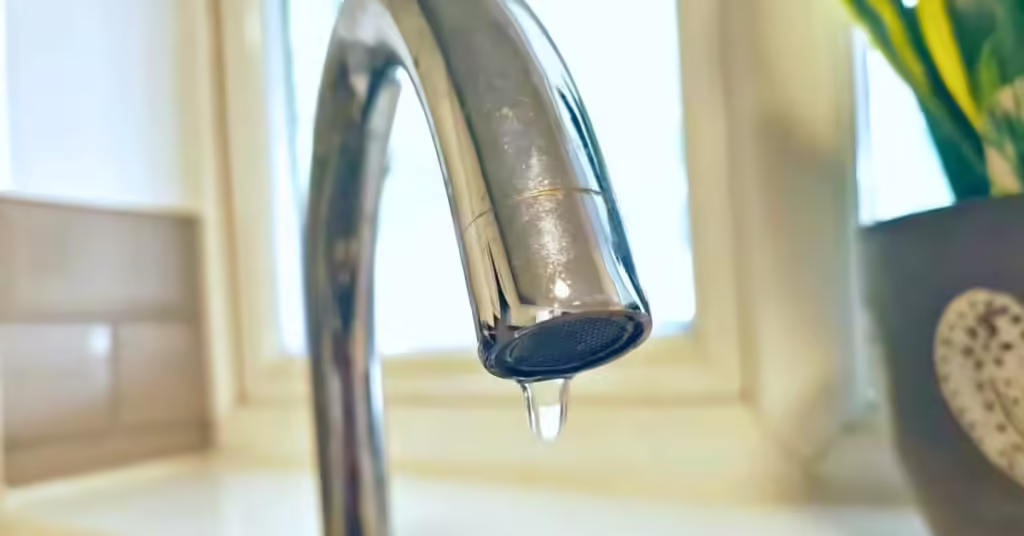
A dripping tap isn’t just annoying—it wastes water and can lead to bigger plumbing issues if ignored. The good news? You don’t always need a plumber to fix it. With 20 years of experience repairing and replacing taps, I’ll show you the best ways to stop that leak for good.
Tap dripping from the spout
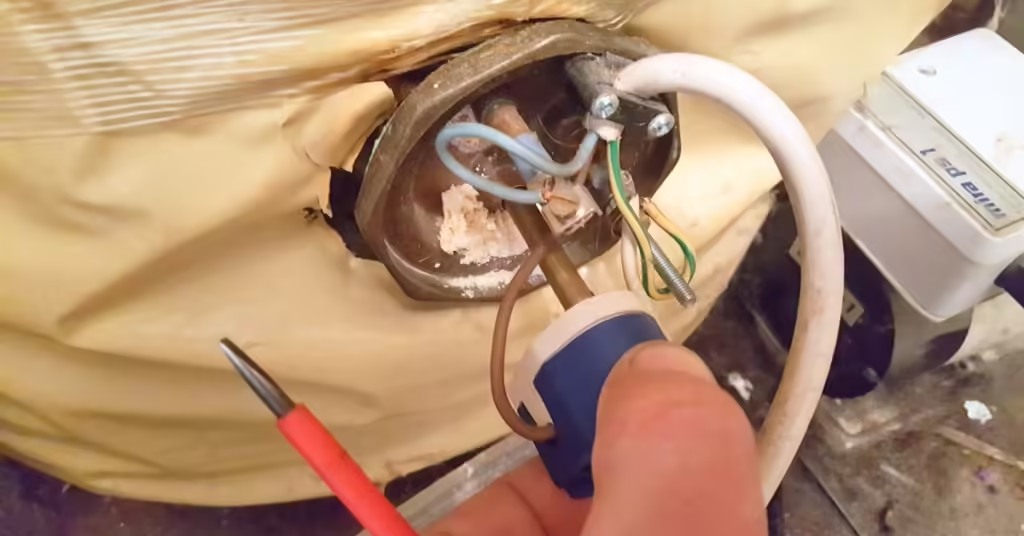
Water dripping out the end of the spout is caused by a damaged washer or a faulty cartridge. To fix it you must replace the washer or the cartridge. You can also clean the ceramic discs in a tap cartridge and rarely you might need to reseat the tap with a special tool, but here I’ll focus on the two most common fixes.
Changing the washer
Changing a washer on a tap can only be done on full-turn taps, usually with a cross head or knob type handle. If you have lever handles on your tap, these will be quarter-turn (or half-turn) ceramic disc cartridges which don’t have washers.
How to change a tap washer:
1. Turn off the water
Turn off the water using the isolating valves on the pipes under the tap. This is usually done with a flat head screwdriver. If you don’t have any isolating valves, turn off the water at the main stopcock. Then open the tap fully to let the water out and wait until it stops coming out
2. Remove the screw
The tap head is held on with a screw in the centre. It typically has a cover that must be removed either by popping it off with a screwdriver or unscrewing it. Once the cover is removed remove the screw by turning it anti-clockwise.
3. Pull off the head
Once the screw is removed the head should pull off the tap cartridge. This can be difficult sometimes on old taps. You might need to use a tool to jemmy it off.
4. Unscrew the shroud
The next step is to unscrew the shroud (if you have one) form the tap by turning it anti-clockwise. Again these can be difficult to remove, large water pump pliers can be very helpful here.
5. Remove the cartridge
Remove the tap cartridge by turning it anti-clockwise with an adjustable spanner. If it doesn’t budge, you’ll need to need use bigger tools. The bigger the tools, the easier the cartridge moves. I sometimes need to use my 500mm Stilson pipe wrench to hold the tap, and my 400mm Knipex water pump pliers (grips) to turn the cartridge. They’ve never let me down yet.
Sometimes an adjustable spanner can’t get to the cartridge because it’s too deep in the tap, you will need use a deep socket on a ratchet or a box spanner if this is the case.
6. Remove the old washer
Pull the old rubber washer from the cartridge. You might need to remove a screw first. You also might might have to pick the washer out of the tap if it’s stuck inside, a small flathead screwdriver usually does the trick.
7. Fit the new washer
Push the new washer onto the tip of the cartridge, make sure it’s a tight fit. Fit the old screw if you have one.
8. Refit the cartridge
Screw the cartridge into tap and tighten it up clockwise with an adjustable spanner.
9. Refit the shroud and head
Screw the shroud back on clockwise if you removed one and refit the head, screw and screw cover.
10. Turn on the water and test the tap
Turn the water supply back on and open the tap to make sure it’s working. Turn off the tap and make sure it’s not dripping anymore and check and the handle area for leaks.
Changing the cartridge
If you have two separate taps, or a mixer tap with two separate handles, replacing the cartridge is usually the easiest fix. The process is the same for bath taps, basin taps, and kitchen taps. However, single-lever mixer taps use a different type of cartridge.
How to replace a brass tap cartridge:
- Turn off the water supply
- Open the tap to drain the water
- Remove the handle screw (usually hidden under a cap)
- Remove off the handle
- Unscrew the shroud covering the cartridge
- Loosen and remove the cartridge using an adjustable spanner
- Fit the new cartridge and tighten it securely
- Reassemble the tap by refitting the shroud and handle
- Turn the water back on and test for leaks
If you can’t get an adjustable spanner onto the cartridge to remove it, use a deep socket and ratchet.
Tap leaking from the stem
A mixer tap leaking from the neck or stem can be fixed by replacing the O-ring.
Finding the exact size O-ring to replace it with can be tricky but if you have one:
- Remove the grub screw in the back of the tap
- Remove the spout by pulling it out
- Remove the O-ring from the spout
- Fit the new O-ring
- Put some silicone grease around the new O-ring
- Refit the spout and the grub screw
- Test the tap for leaks
Tap leaking from the handle
Having a tap leaking from the handle is usually a sign that the O-ring on the tap cartridge needs to be replaced.
- Turn off the water and open the tap to let the water out
- Remove the screw holding the handle onto the tap cartridge
- Unscrew the shroud around the tap cartridge
- Remove the tap cartridge with an adjustable spanner
- Remove the O-ring with a small flat screwdriver
- Fit the new O-ring
- Put some silicon grease around the O-ring
- Refit the tap cartridge and tighten it with an adjustable spanner
- Refit the shroud and handle
- Turn the water on and test the tap
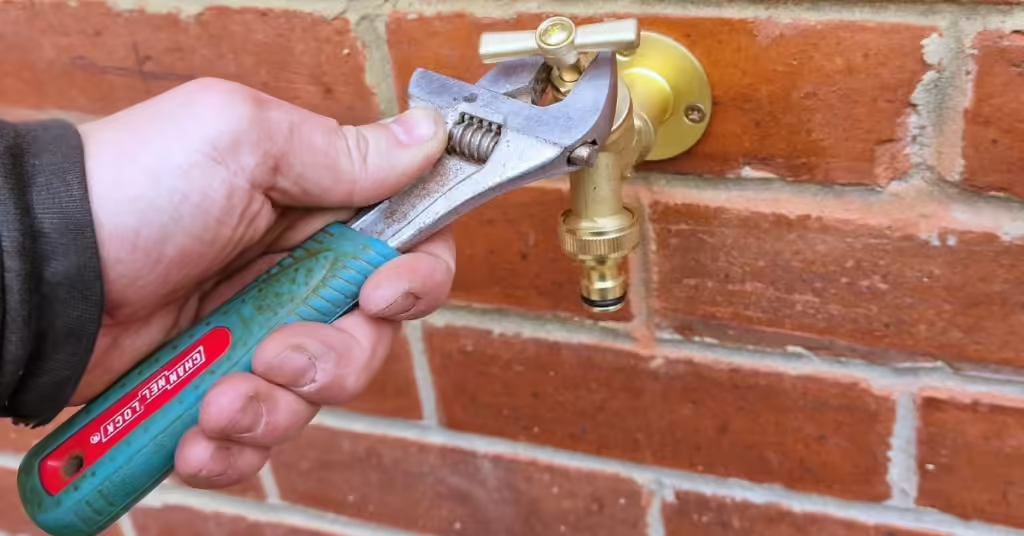
Outside tap leaking
Most outside taps are full-turn and therefore have a rubber washer inside. Fixing a leaking garden tap can be done by replacing the washer most of the time but sometimes you’ll need to replace the tap.
Conclusion
Fixing a dripping tap is easy most of the time but can be very tricky. It’s very rare I ever come across a leaking tap that I can’t fix but sometimes it happens. No matter how many cartridges you try and how much you grind off the seat, it still leaks.
If your leaking tap is old and stiff or wobbly, especially outside taps, replacing it might be better to save you from the stress (and money) of going through all that and it ends up still dripping.
Feel free to ask any questions in the comments below, and I’ll do my best to help. If you found this post helpful, please consider sharing it.