Last updated on May 6th, 2026
Installing an outside tap from scratch can be tricky, especially if you’ve never tackled plumbing before. But with the right tools and guidance, it’s a job you can confidently handle.
I’ve been fitting outside taps for around 20 years, solving all sorts of common issues along the way. This guide will walk you through the process step by step, helping you avoid mistakes and get it right the first time.
Video guide
Materials and tools needed
Materials
There are some decent outdoor tap kits you can buy, but you should avoid using a flexible hose when fitting garden taps. Flexi hoses are more likely to leak, especially if there’s a tight bend in them, and might even burst open and flood your house one day.
Check valves
The regulations say you must fit a double-check valve inside the property to prevent backflow from hoses. A tap with a check valve built in is only meant to be used when replacing an old tap if there's not one fitted in the house.
Outside taps with double-check valves in the tap can become damaged by frost in the winter and cause your tap to stop working which is why they need to be fitted inside the property.
Outside tap materials list:
(Click the links to view them on Amazon)
- An outside tap
- A wall plate with copper pipe: Long enough for your wall thickness
- A hose connector: Brass or plastic
- Outside tap kit (All 3 items above)
- Double check valve
- 15mm isolation valve
- Brass or Speedfit pipe fittings: One elbow and one tee is usually enough
- 15mm pipe: Copper or plastic
- PTFE Tape or liquid PTFE
- 6mm wall plugs x 3
- Screws x 3: I use 5 x 50mm brass
- Brown builders silicone

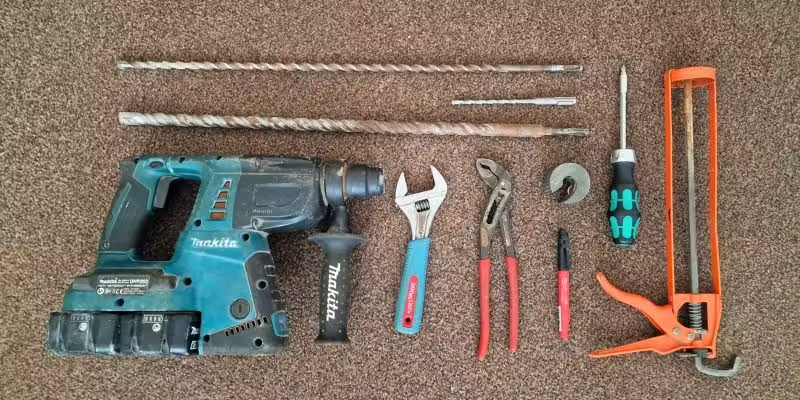
Tools
- An SDS drill
- A 10mm and 18mm SDS drill bit: 400mm or longer
- A 6mm SDS drill bit: 50mm or longer
- A screwdriver
- A 15mm pipe cutter
- An adjustable spanner
- Water pump pliers
- A silicone gun
- A marker pen
Step-by-step guide
1: Drill a hole
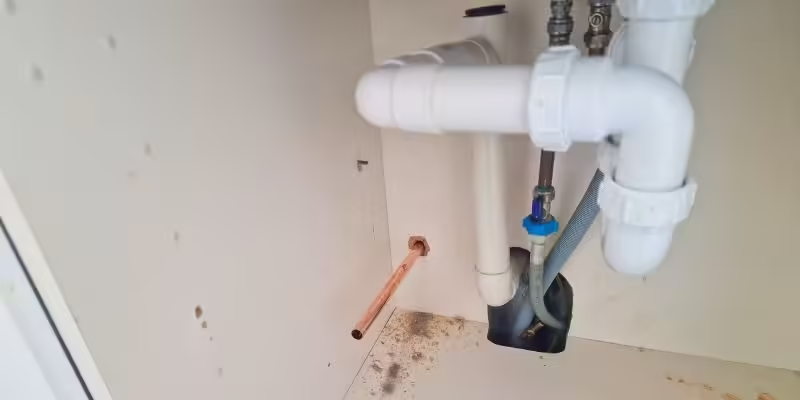
Work out where you want to fit your garden tap, close to a water pipe but make sure you leave enough room for the two valves that need to be fitted. The most common place is behind the kitchen sink so the pipe comes under the sink.
The height doesn’t matter, whatever works for you but I like to be able to fit a bucket at least underneath. The ideal height is between 500mm – 800mm off the ground.
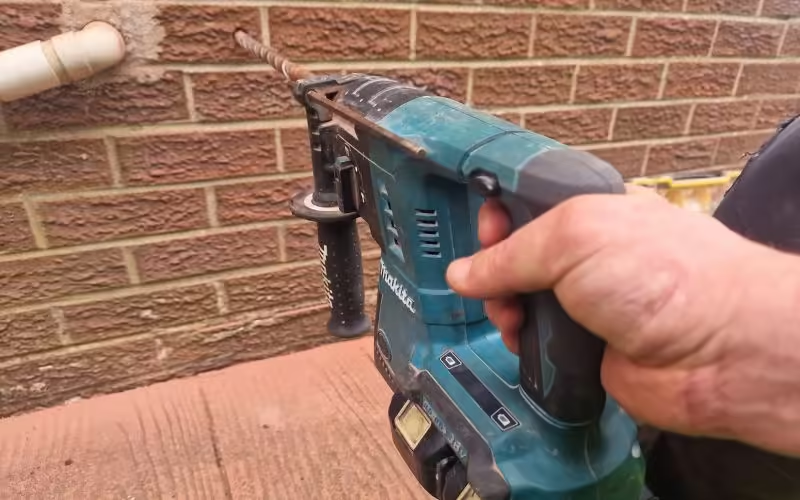
Drill a 10mm pilot hole from outside to in. You will most likely blow the front of the brick out if you drill from inside to out. Carefully measure where to drill before drilling.
Once you have drilled the 10mm hole and checked it’s in the correct place inside, you need to drill through the 10mm hole with the 18mm drill bit.
2: Fix the wall plate and tap to the wall
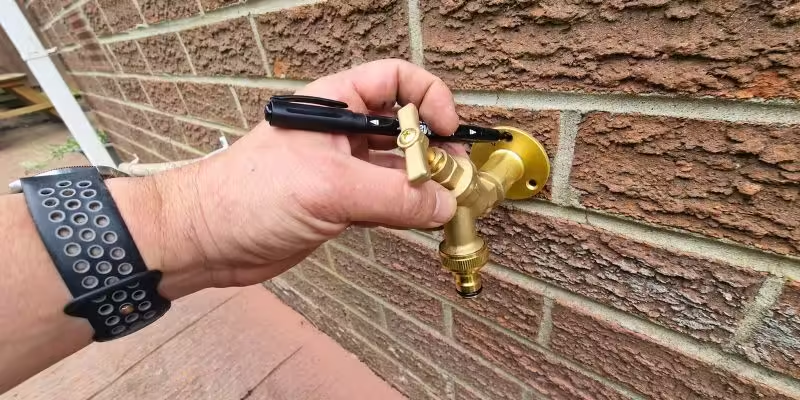
Screw the tap into the wall plate without any PTFE on then push the pipe through the wall. When the brass wall plate is sitting against the wall, line the tap straight and mark the 3 screw holes on the outside wall with a marker.
Then:
- Remove the tap and wall plate
- Drill the 3 x 6mm screw holes carefully
- Fit the wall plugs in the drilled holes
- Remove the tap from the wall plate
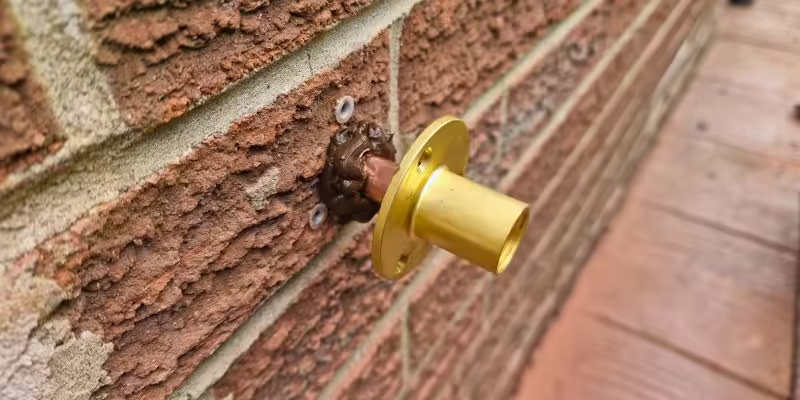
- Feed the wall plate pipe through the wall until there is a two-inch gap
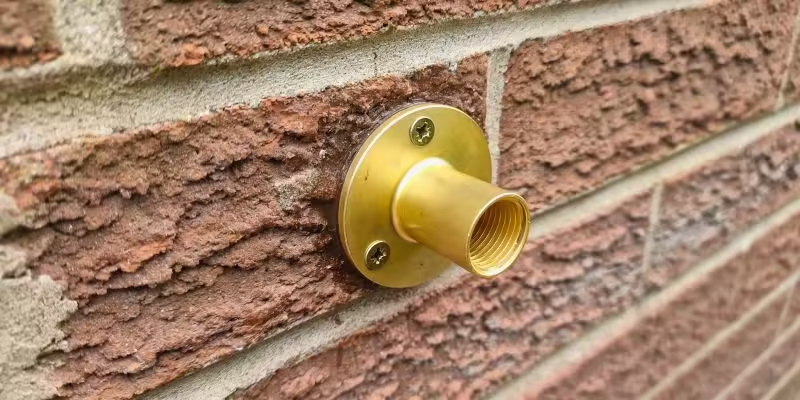
Next, you need to:
- Put some silicone on to give it a good seal
- Push the wall plate flat to the wall
- Screw in the 3 screws
- Clean off all the excess silicone with toilet roll
The next job is to wrap some PTFE tape around the threads of the garden tap, about 15 wraps is usually good. I used liquid PTFE on this job.
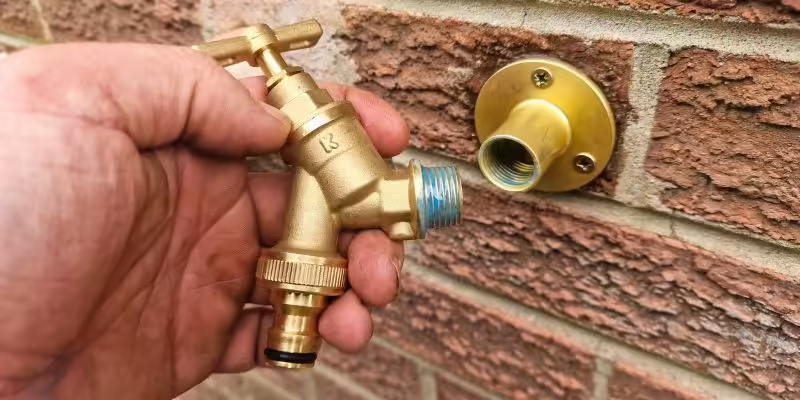
- Screw the tap into the wall plate
- Tighten up the tap with your hands, use an adjustable spanner if needed to get it straight
- Remove any excess PTFE tape on show with a Stanley knife
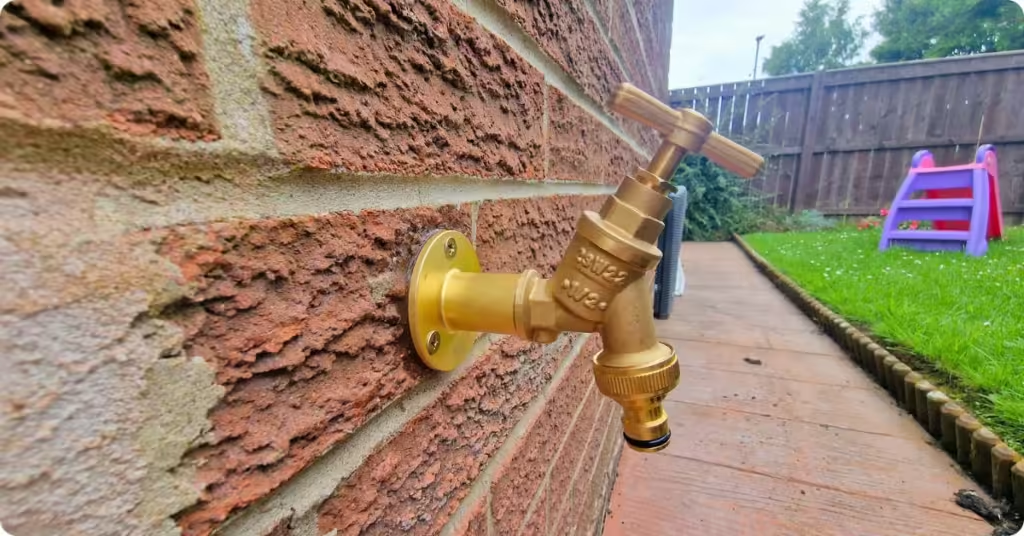
I removed the old hose connector before fitting this tap and fitted a quick-connect one that works with most hoses and modern connections. You can use brass or plastic hose connectors but brass ones are better.
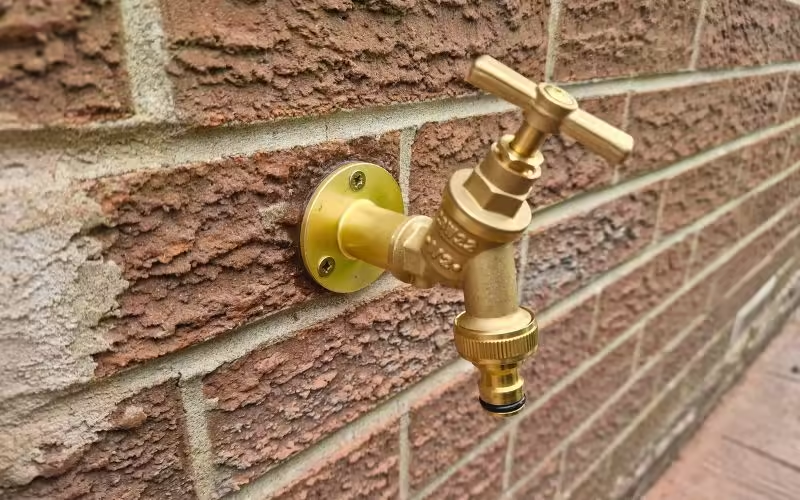
The garden tap has now been installed. Everything else is done from inside the house.
3: Connect to the water supply
The first thing to do inside is turn off the water at the stopcock and open the kitchen tap.
Then:
- Cut the new tap pipe down to the length you need it
- Put a towel under the old water pipe that you’re connecting to
- Cut the old pipe
- Fit the tee
- Fit some pipe
- Fit isolation valve
- Fit some pipe
- Fit double-check valve
- Fit some pipe
- Fit the elbow to connect everything to the new tap pipe
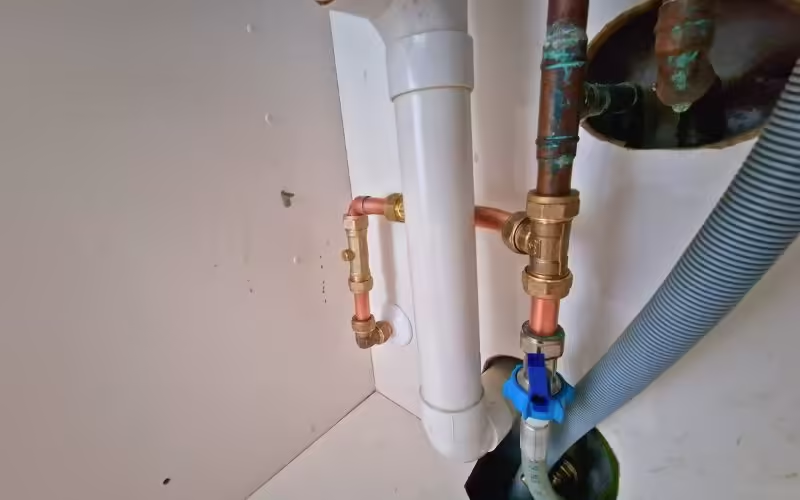
You might need other fittings if the cold water supply is not close by, or even the hot water supply if you want to fit a hot water tap. On this job, I used a soldered street elbow but it’s not usually needed. Close the kitchen tap and turn on the water at the stopcock. Test the new outside tap is working and there are no leaks on the new fittings inside.
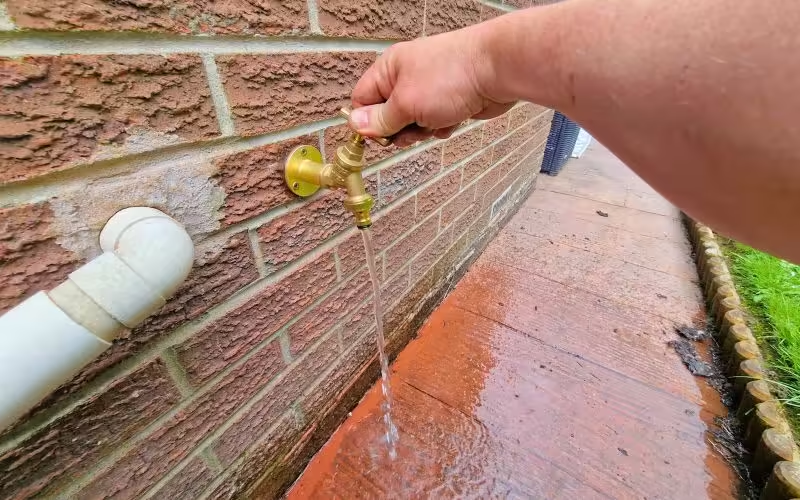
The outside tap installation job is completed!
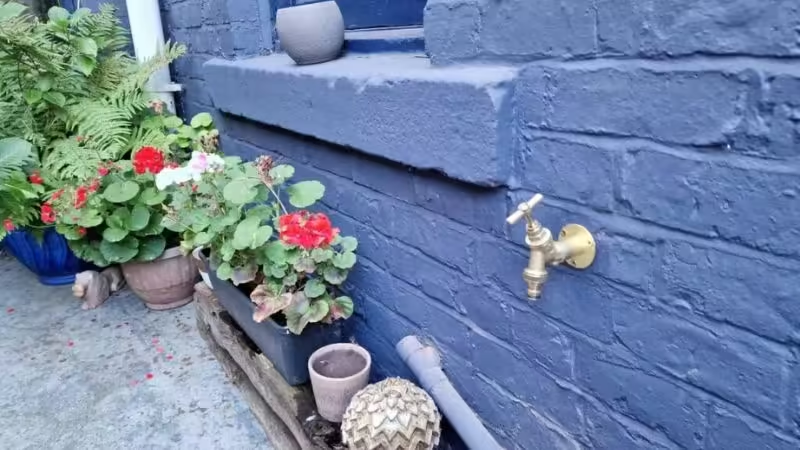
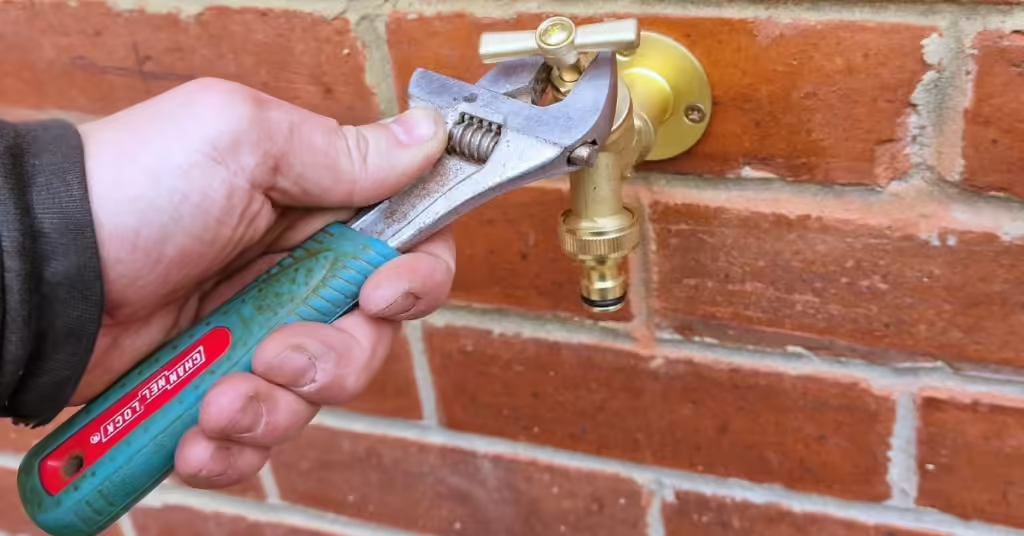
Replacing an outside tap
To replace an old tap that is already fitted you only need to replace the bib tap itself and leave the wall plate.
Here’s how to replace an outside tap:
- Isolate the water supply to the tap
- Open the tap to let the water out
- Unscrew the old tap from the wall plate on the wall by turning it anti-clockwise
- Clean up any old tape or dirt from the threads on the old brass wall plate on the wall
- Wrap 15 (or more if needed to get it straight) wraps of PTFE on the threads on the new tap
- Screw the new tap into the old wall plate and tighten it up with your hands or a spanner
- Turn the water back on
- Test the tap is working and check for leaks
Summary
Fitting a garden tap can sometimes be difficult, even for a full-time plumber. Replacing an outside tap that’s not working is easy, and I would recommend DIYers give it a go.
Only you know your level of competence, but if you haven't done any plumbing before then installing an outdoor tap might be a bit too much.
Feel free to ask me any questions in the comment section below and I’ll try my best to help. Please share this post if you find it helpful.
FAQs
Can you fit an outside tap anywhere?
Yes. You can fit an outside tap anywhere. You just need to be able to run a cold water supply pipe to it. Garden taps are usually fitted on the outside wall behind kitchen sinks, but can be fitted anywhere.
How long does it take a plumber to install an outside tap?
Most of the time it takes less than an hour for a plumber to install an outside tap. It can sometimes take a lot longer (2 -3 hours) depending on exactly what needs to be done. The distance from the water supply where the tap is being fitted can be a problem, or the original plumbing might need a lot of adapting to get a new connection onto it, but most of the time (for me) it takes less than an hour.


I have a L shaped bungalow 13meters x 13meters x 5.5meters wide on each edge my kitchen and toilet etc are all located on the bottom line corner to midway but my garden and pool are within the inner part of the L, I am also connected to other homes at both ends and most of the left side of the L and the very to- left of the L is my driveway
I need an outside tap for irrigation as I have fruit and a small fruit tree orchid and also filling the pool, jet washing the patio and car and have solid asphalt mix flooring
Please can you help
Hi Dianne, yeah sure. If you’re in Newcastle I can give you a quote to fit an outside tap. Or if you send me more details, I can give you some advice.