Last updated on March 2nd, 2025
Removing a radiator from a wall can be very difficult. Depending on what system you have, the size of the radiator you’re removing, and the condition of the valves, it can be a 6-hour nightmare or a 10-minute walk in the park.
I have been a full-time heating engineer carrying out radiator repairs and replacements for over a decade and have had my fair share of nightmare jobs.
How to take a radiator off the wall
To take a radiator off the wall you need to drain the central heating system or just the radiator. Once the water is drained you must undo the two nuts on the two radiator valves with an adjustable spanner and then lift the radiator off the wall brackets.
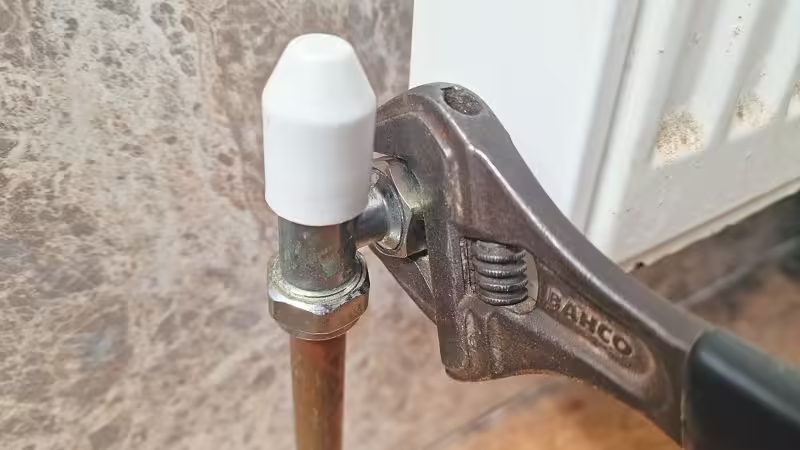
Removing a radiator without draining the system
To remove a radiator without draining the system you must:
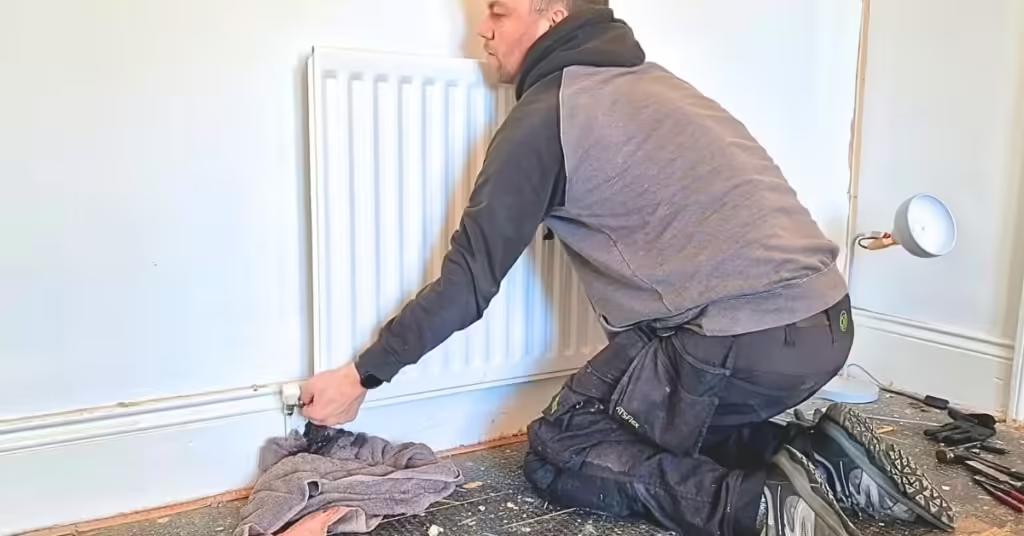
- Put some towels down under each radiator valve
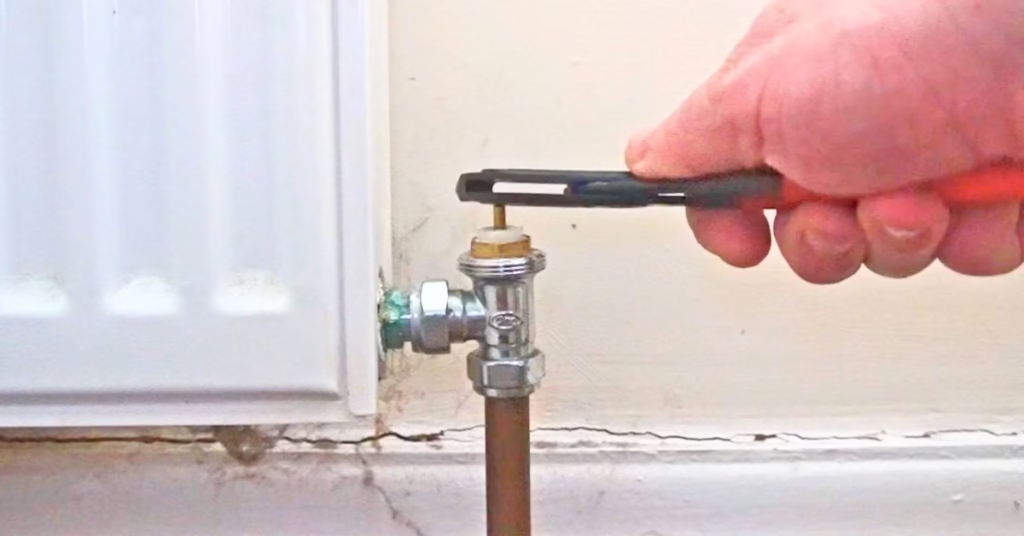
- Turn off both radiator valves
- Place a Plumb Tub under one radiator valve
- Crack the nut on the radiator that connects the valve to the radiator with an adjustable spanner
- Open the radiator bleed valve with a radiator bleed key
- Let the water run into the tub
- keep emptying the tub until the radiator is empty
If the water doesn’t stop coming out then one of the valves must be broken and the central heating system will need to be drained to remove the radiator, or at least partially drained.
Removing a radiator for decorating
For temporarily removing a radiator for painting and decorating, or having problems with the radiator not working, you should follow the instructions above for radiator removal without draining the heating system.
Most people leave the old radiator brackets on the wall when decorating and just plaster or wallpaper around them, but if you want to remove them temporarily you should:
- Remove the screws with a screwdriver
- Remove the wall brackets
- Refit the screws partially into the plugs in the wall
If you don’t refit the screws before decorating, you will need to measure and drill the wall to fit new wall plugs which is the hardest part of refitting or replacing a radiator.
Cap the radiator valves
You should also fit blank nuts on each radiator valve, especially on thermostatic valves as they can get turned and opened accidentally, or weep. Most radiator valves take 1/2″ or 3/4″ blank nuts. They screw on with your hand then you can tighten up with an adjustable spanner whilst holding the valve with some water pump pliers.
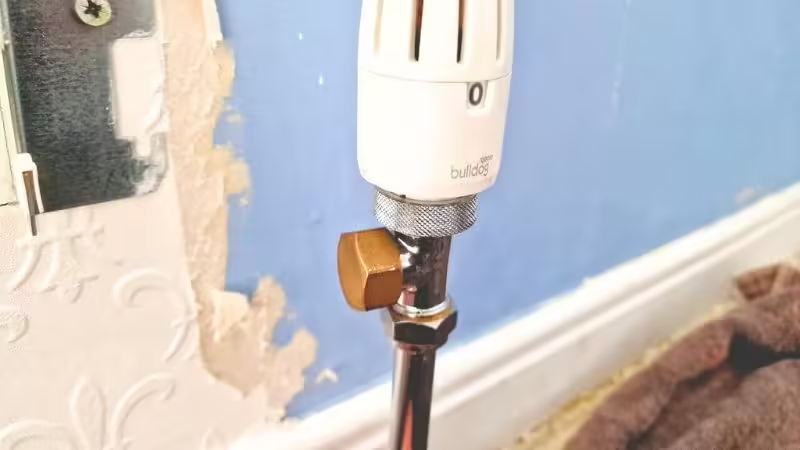
Cover the radiator valves
It’s also a good idea to cover every radiator valve with carrier bags and tape to protect them while the radiator is removed temporarily for painting and decorating. They tend to get covered in plaster and paint if they’re not covered up and protected.
How to drain a radiator to remove it
- Put some towels down under each radiator valve
- Close both valves
- Place a Plumb Tub under one radiator valve
- Crack the nut on the radiator that connects the valve to the radiator
- Open the radiator bleed valve with a bleed key
- Let the water run into the tub
- keep emptying the tub until the radiator is empty
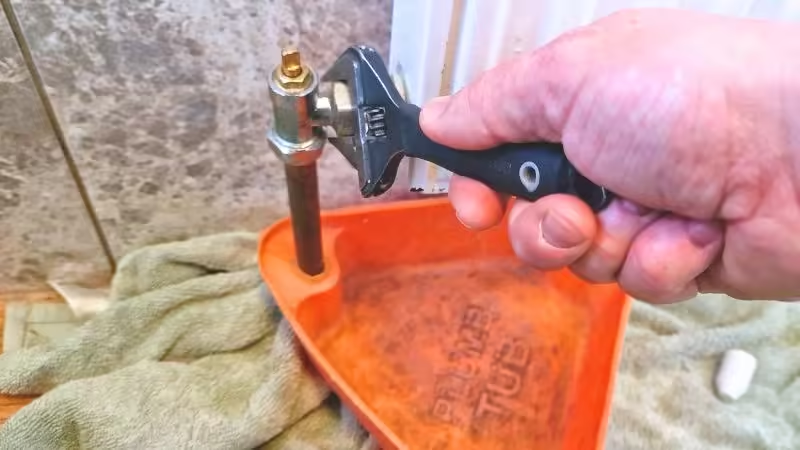
If the water doesn’t stop coming out then a valve mustn’t be closed fully or could be broken which means you should replace the radiator valve. If this is the case, you need to drain the central heating system to remove the radiator or you can do the following:
Broken valves
If you have a radiator valve that is broken and won’t close fully or you don’t have a drain-off valve to drain your system:
Pressurised and combi boiler systems
If you have a pressurised or combi boiler system, you can still drain a radiator to remove but it can take a lot longer. You will need to catch the water in a tub under the radiator valve as above but you will probably get water from other radiators coming out also.
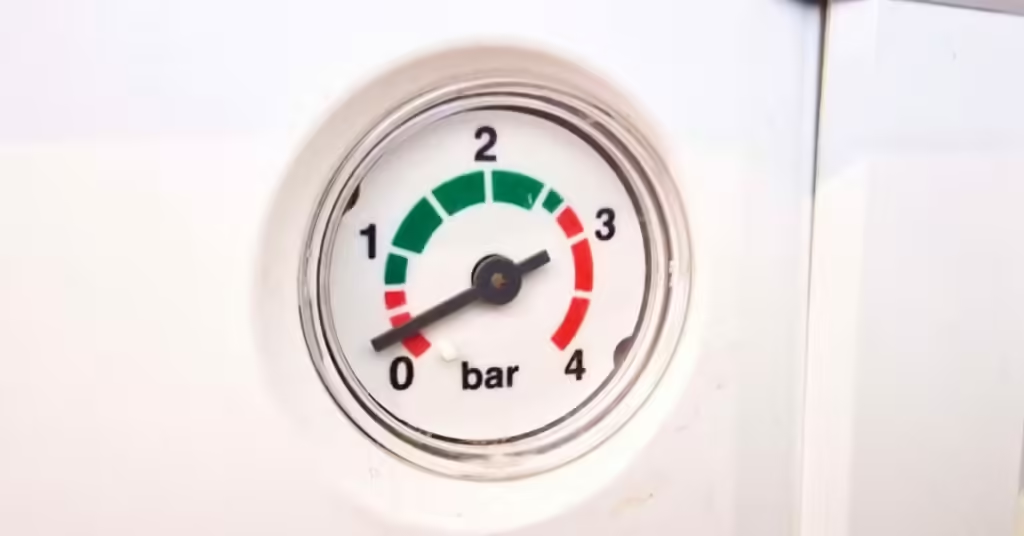
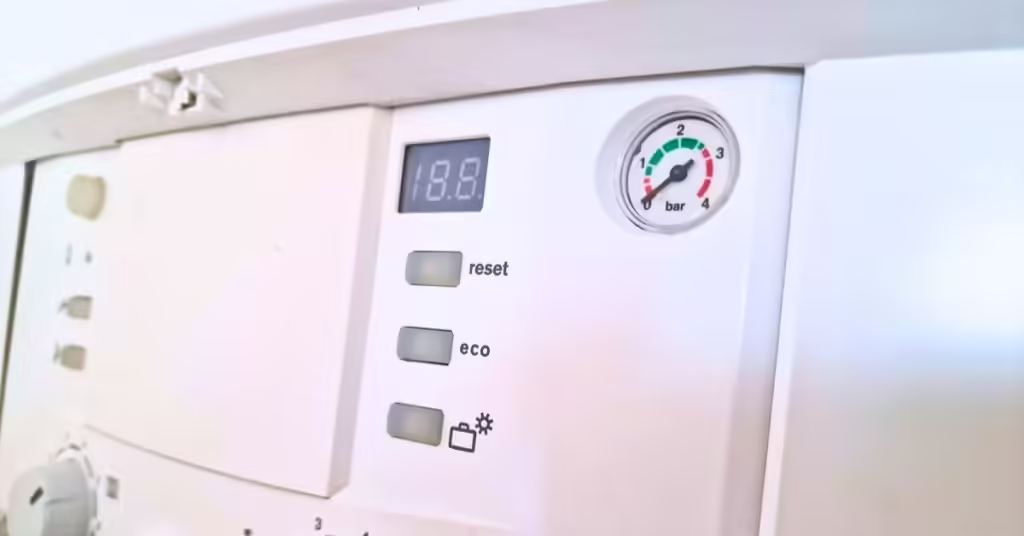
Just keep going until the water stops coming out and make sure to repressurise the boiler and bleed all the radiators when you are finished (how to bleed a radiator).
Vented unpressurised systems
Vented gravity systems can be bunged with rubber bungs to drain a radiator for removal. The feed and expansion pipes in the header tank that feeds the heating system can be bunged which creates a vacuum so the water doesn’t come out. Once the pipes are bunged you must crack the nuts on the radiator valve and open the bleed valve on the radiator to let the air in and catch the water in a tub under the radiator valve.
How to remove a towel radiator
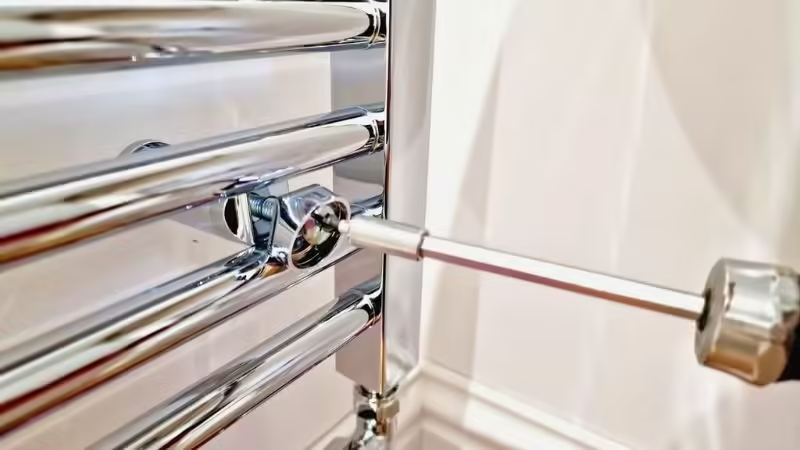
Removing a towel radiator is the same process as above but a little bit trickier. You should close both the valves on the towel radiator, crack the two nuts on the top and catch the water in a tub.
Once the radiator is drained and empty, you will need to remove the screws from the wall brackets that are usually hidden under plastic caps.
Remove a radiator permanently and cap off pipes
Removing a radiator permanently means you need to take the radiator off the wall as above and cap off the pipes.
There are two ways to cap off the pipes:
- Under the floor
- Above the floor
Under the floor
To best way to cap off the pipes to the radiator is to pull up a couple of floorboards under the radiator valves, cut the pipes and cap them off under the floor with two stop ends.
Pulling up the floorboards can be very difficult but needs to be done to do the job properly. The best way to do this is by using a multitool to cut it then a hammer and chisel to pry the boards up.
Above the floor
You can cap off the pipes above the floor if you want. This will be a lot easier but the small bits of pipes and stop ends will always be in the way. You can sometimes poke them under the floor from above if you make the holes bigger but very rarely.
How to cap off the pipes
The pipes to a radiator will be either 15mm, 10mm, or 8mm and either copper or plastic. You must find out the size and material and get the correct pipe cutter and stop ends.
You can use compression or push-fit sop ends. If it’s a plastic pipe you are capping off make sure to use pipe inserts before fitting the stop ends.
Once the heating system is drained or partially drained you should:
- Find a nice straight and clean part of the pipe and cut it with the pipe cutter
- Fit a pipe insert if it’s a plastic pipe
- Push the stop end onto the pipe
- Use an adjustable spanner and water pump pliers to tighten it on if it’s a compression stop-end
- Repeat the process and cap off the other pipe
- Repressurise the boiler and bleed all the radiators
Summary
Removing a radiator from a wall temporarily can be straightforward when things go well. If it’s a small radiator with valves in good condition then things will be in your favour. If you’re removing a large old radiator or you want to remove a radiator permanently and cap off the pipes, this is a lot more difficult.
Feel free to ask any questions in the comments below, and I’ll do my best to help. If you found this post helpful, please consider sharing it.
