Last updated on July 28th, 2025
It will happen to us all eventually, whether it’s a leaking radiator valve, a radiator not heating properly, or you just want a new one; knowing how to replace a radiator valve is a skill worth learning.
I have been fitting and fixing radiators full-time for over a decade. I have come across many problems along the way. Here I’ll share with you my best advice for replacing radiator valves.
Video Guide
Step-by-step guide
Whether it’s lockshields, manual valves, or thermostatic radiator valves (TRV), the process for replacing them is the same.
To replace a valve you must:
- Drain the heating system
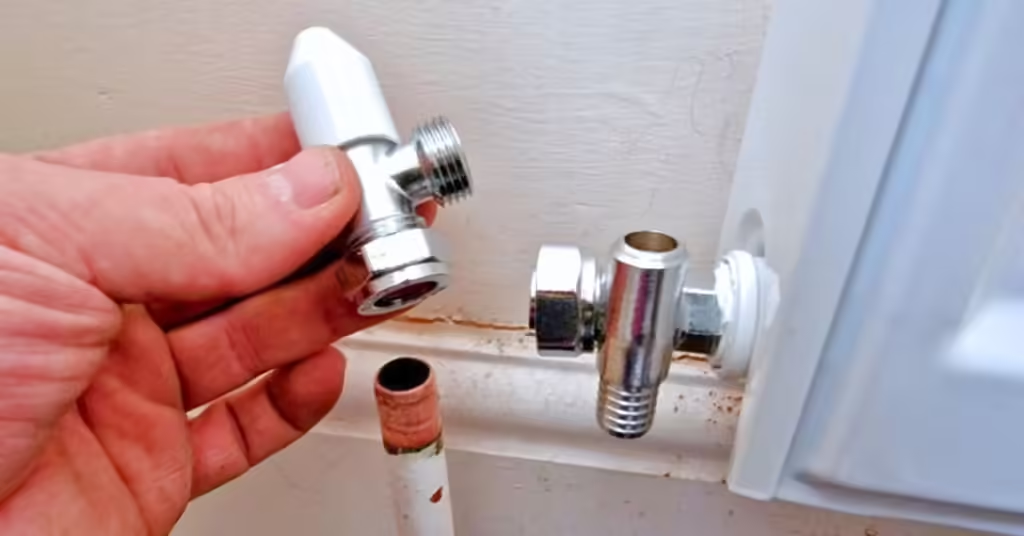
- Remove the radiator valve
- Fit the new radiator valve
- Refill the heating system
- Test
1. Drain the heating system
To replace a radiator valve, you must first drain the central heating system.
How to drain the system:
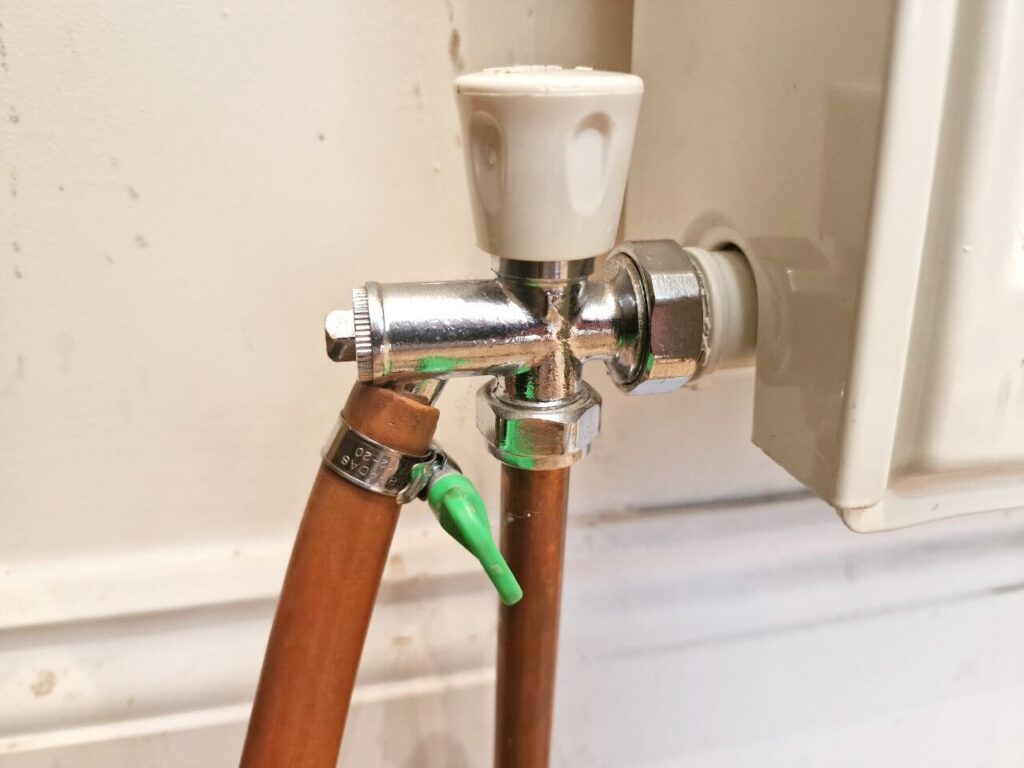
- Connect a hose to a drain valve and run the hose to a drain outside
- Turn off the water at the stopcock if you have a vented gravity heating system
- Open the drain valve with an adjustable spanner or some water pump pliers
- Wait for the water to stop coming out of the hose at the drain outside
- Vent the radiators by opening the bleed valve on each radiator starting with the highest floor first
- Wait for the water to stop coming out of the hose again
- Vent the radiators on the floor below
- Keep going until all radiators are empty on all floors
Using a proper drain down hose makes this so much easier but a standard garden hose will do the job.
You should drain the full floor the radiator valve is on and any floors above it. If the valve you are replacing is upstairs, you only need to drain the upstairs radiators. If the valve is on the ground floor, you should drain the full central heating system.
2. Remove the radiator valve
Once the central heating system is drained, you should:
- Put an old towel or two under the radiator valve
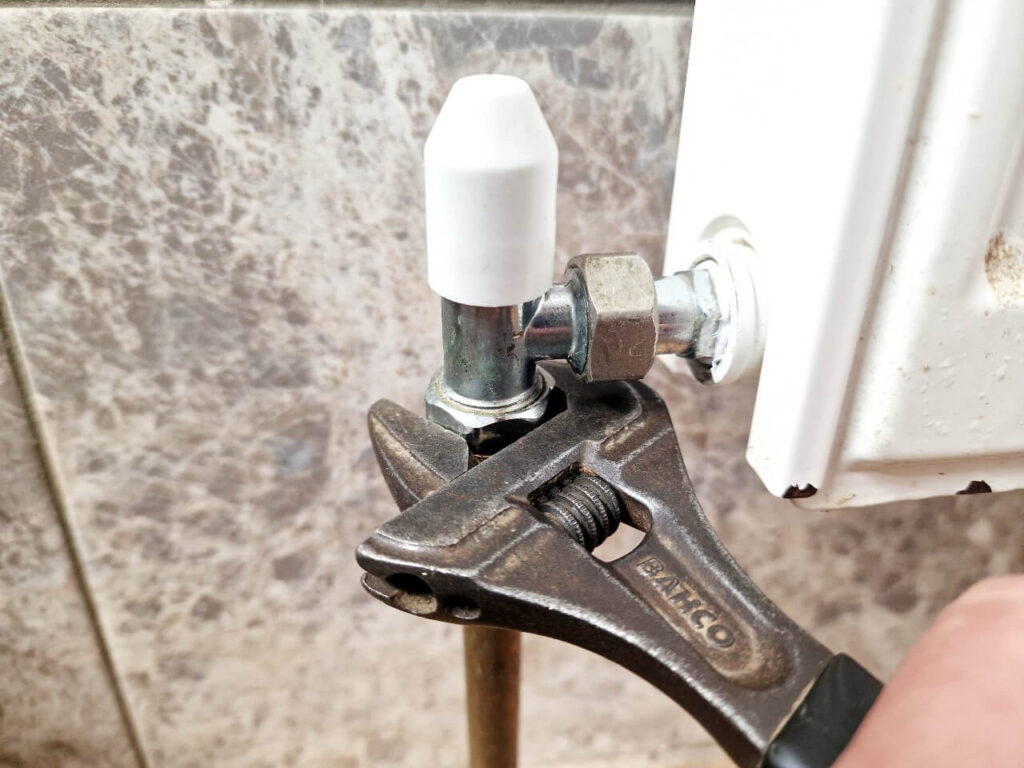
- Undo the two nuts on the valve with an adjustable spanner by turning them anti-clockwise
- Pull the radiator valve off the pipe and radiator (You might need to lift the radiator)
You don’t need to replace the old nuts but if you want to you’ll need some olive cutters to remove the one on the pipe and you’ll probably have to replace the tail for the one on the radiator.
3. Fit the new radiator valve
To fit a radiator valve you must:
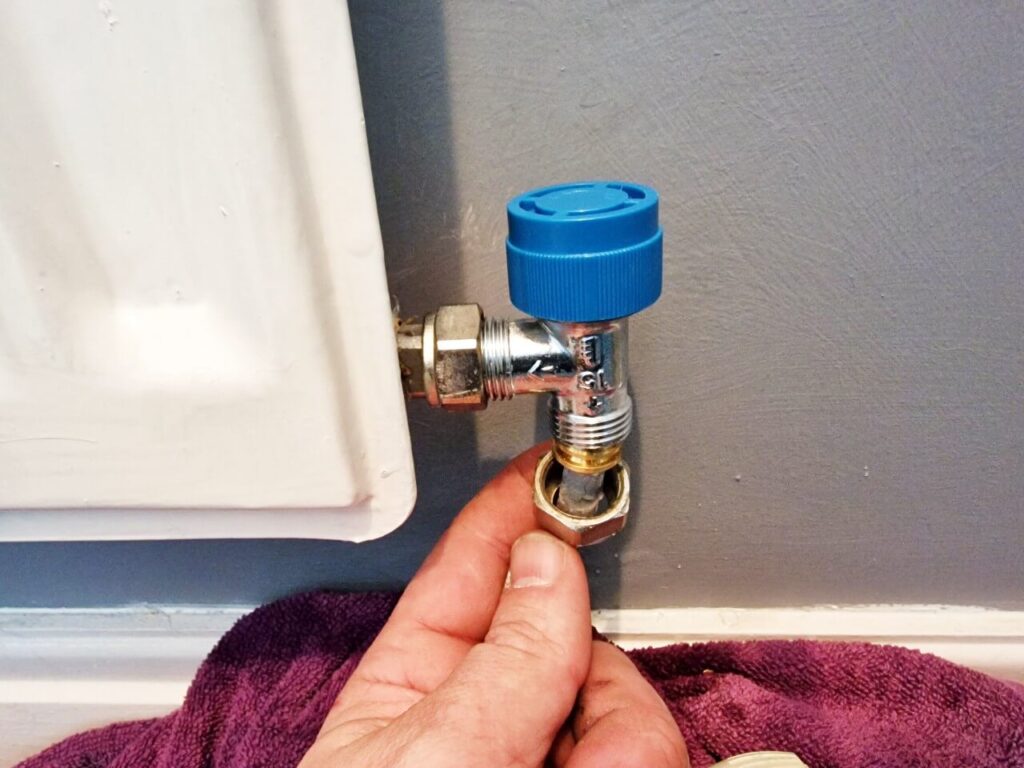
- Sit the new radiator valve over the pipe and onto the radiator tail
- Use some jointing compound on the threads to prevent any leaks (especially if you’re using the old nuts)
- Tighten both nuts
4. Refill the heating system
To refill the central heating system you need to do the opposite of draining it:
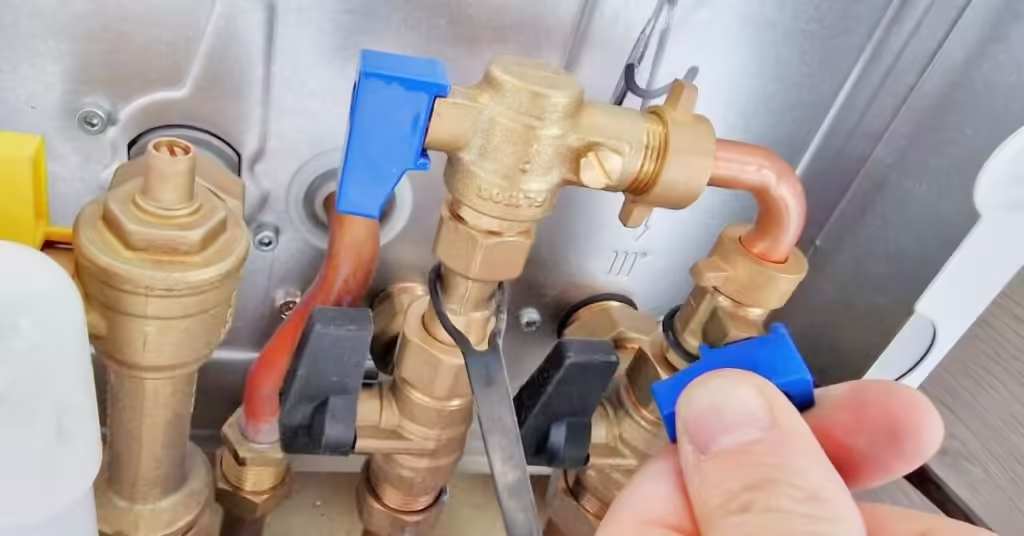
- Close the drain valve
- Turn the water back on if you turned it off
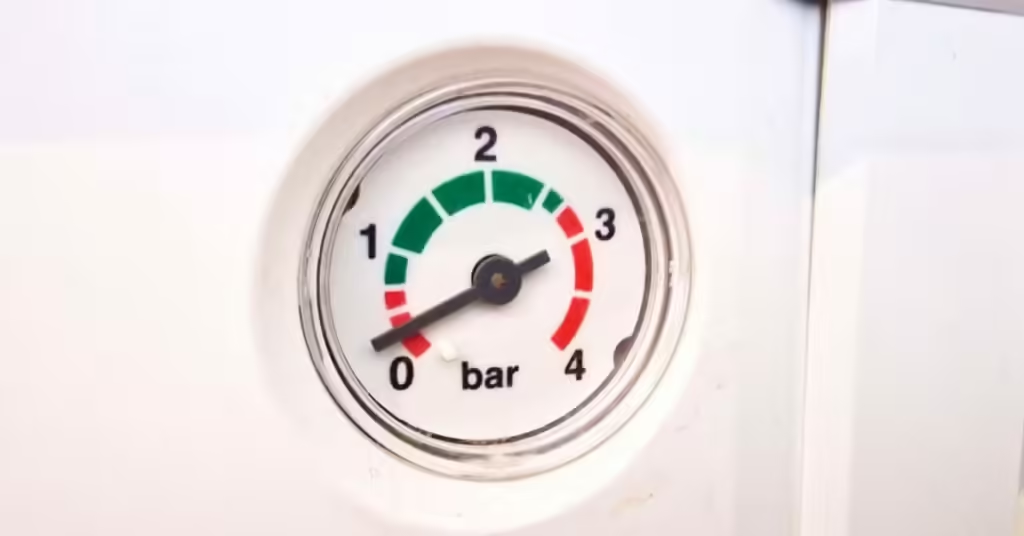
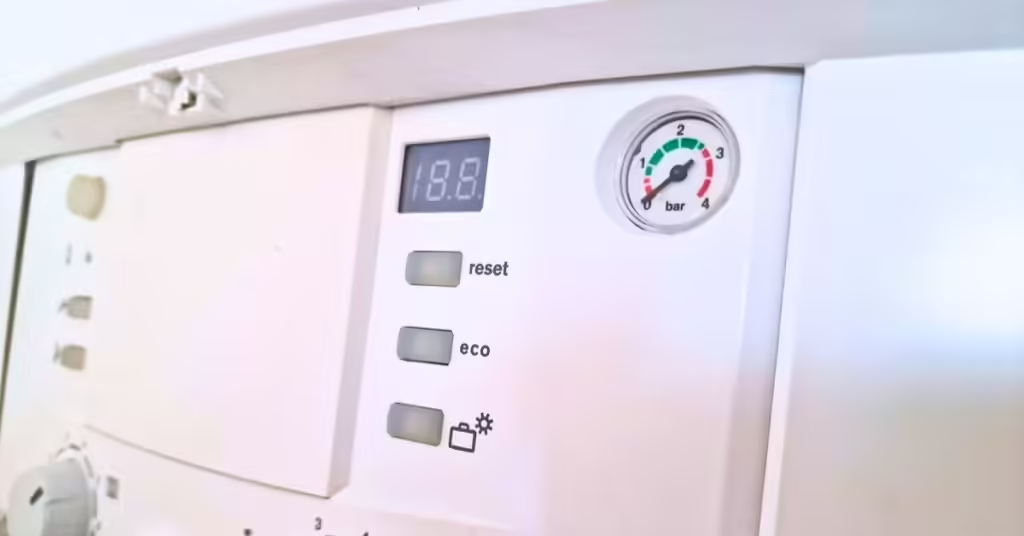
- Repressurise the boiler
- Bleed the radiators
- Repressurise the boiler
5. Test
- Check for leaks on the new valve
- Make sure the new valve is fully open by turning it anti-clockwise as far as it will turn
- Turn the heating on
- Check for the radiator getting hot
- Check for leaks again
If any of the nuts are leaking you can usually just tighten them up a little bit more with an adjustable spanner.
How to replace a radiator valve tail
To replace a radiator valve tail, you must:
- Remove the radiator valve
- Turn the tail anti-clockwise with an adjustable spanner or large hex radiator key until it comes out of the radiator
- Wrap the new tail threads with PTFE tape, a minimum of 15 wraps for me
- Screw it into the radiator and tighten it up with an adjustable spanner or hex key until you can’t see any more threads on the tail
The valve tail should be stiff to turn with a tool.
If it’s not then it will probably leak, so you should:
- Remove the tail
- Wrap it again with more PTFE this time, 20, 30 wraps or however many it takes to get it nice and tight in the radiator
Different types of tails
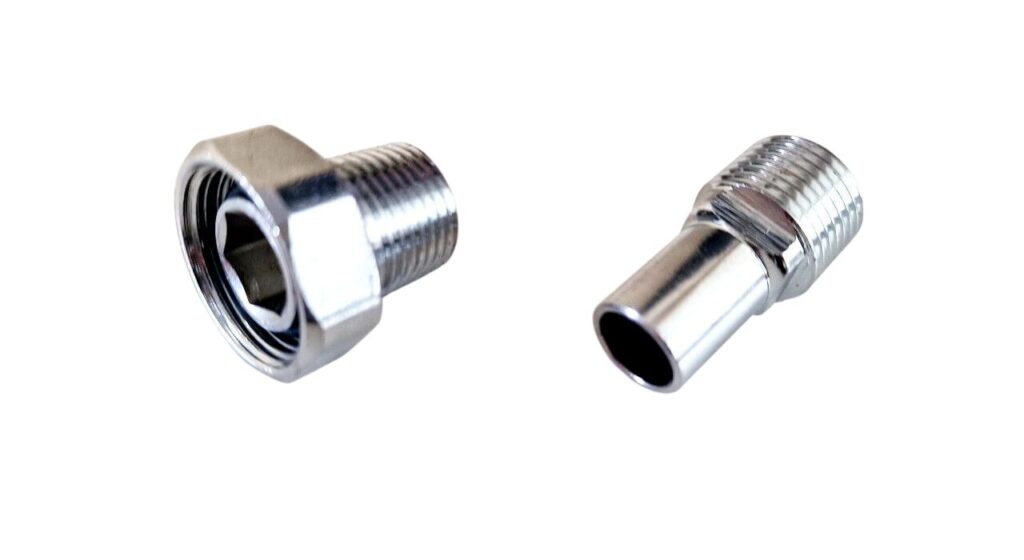
Most radiators have the same size 1/2″ holes for the tails at the bottom of the radiator.
There are two different types of tails:
- A standard tail with a 15mm pipe which needs a spanner to screw in and out. These come in different lengths
- A larger tail with a 3/4″ nut on that needs a step ratchet or large hex key inserted in to screw in and screw out of the radiator
Both of these tail types have 1/2″ male threads on the end that go in the radiator.
How to change a radiator thermostat
Sometimes when having problems with thermostatic radiator valves you can leave the actual valve and just replace the thermostat (or head).
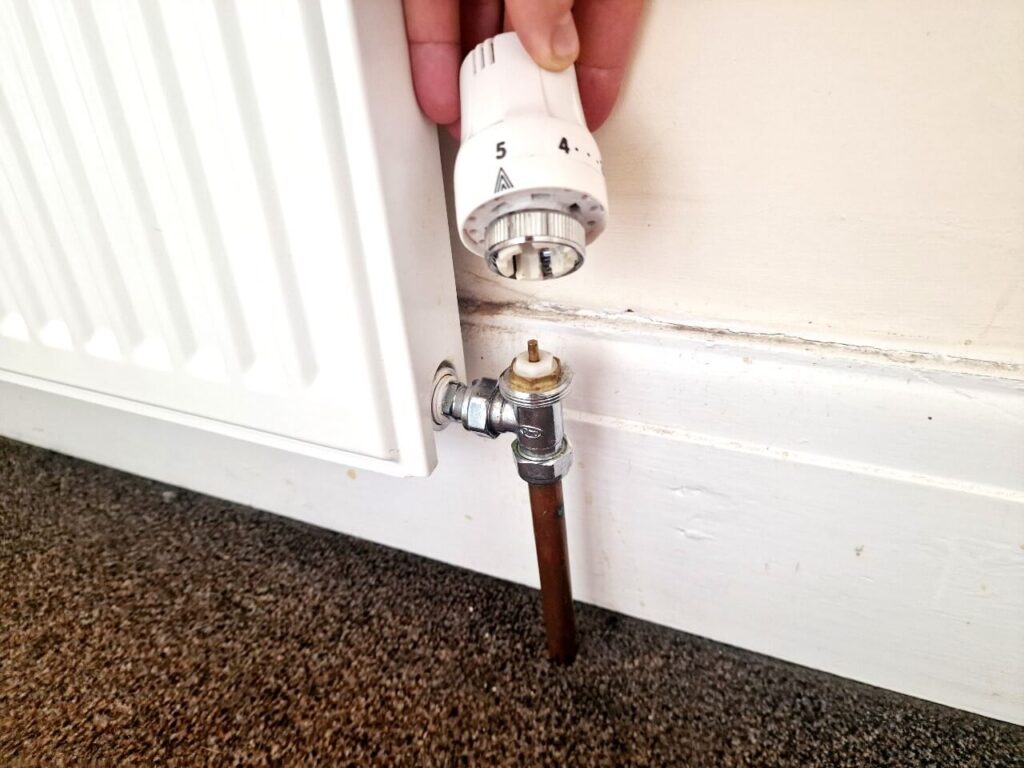
To replace a radiator thermostat:
- Open the thermostatic radiator valve fully to the highest number to make it easier to replace
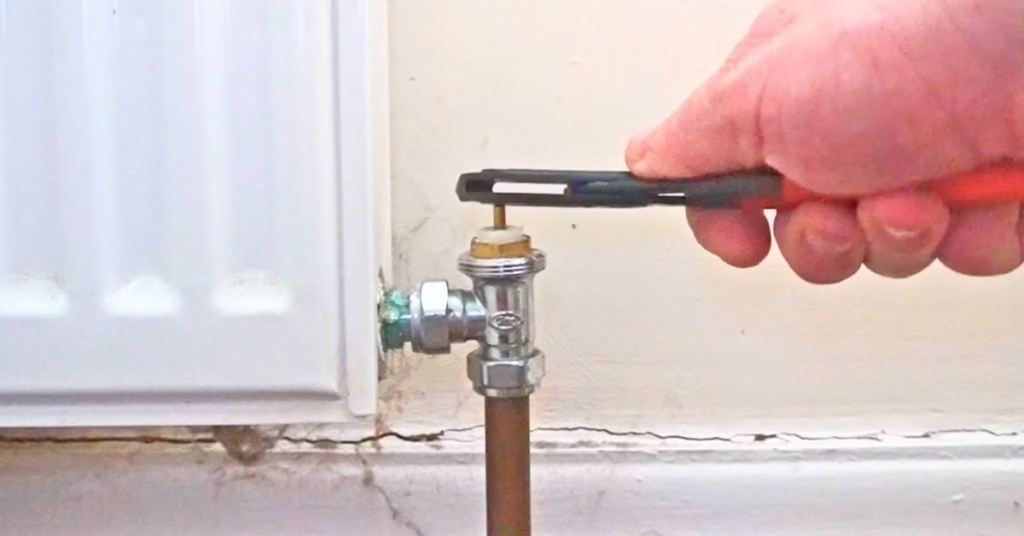
- Turn the securing ring at the bottom of the head anti-clockwise with your hand or some water pump pliers
- Lift the thermostat off the valve
- Fit the new thermostat and screw on the securing ring with your hand
- Give the ring a little nip up with some water pump pliers
- Turn the heating on and check the thermostat is working
How to change valve without draining system
You can replace a radiator bleed valve or radiator very easily without draining the system but radiator valves are a lot more tricky. To replace radiator valves without draining the system you need to be careful not to flood the place. This is not recommended for inexperienced people.
Pressurised system
If you have a pressurised (unvented) central heating system like a combi boiler, you can drop the pressure to zero and work quickly to replace the valve.
To do this, you will still need to partially drain the system by:
- Using a drain-down hose as above but without venting any radiators
- Opening the drain off on the boiler and catching the water in a bucket
- Opening the pressure relief valve on the boiler
- Bleeding water out of a radiator but this could take forever
Once the pressure is on zero, you can quickly swap the radiator valve, but you do risk water coming out.
Vented/Gravity System
If you have a gravity-fed central heating system, you can bung the tank and vent pipe (usually in the loft) with some proper central heating rubber bungs and quickly work to change the radiator valve without draining the system.
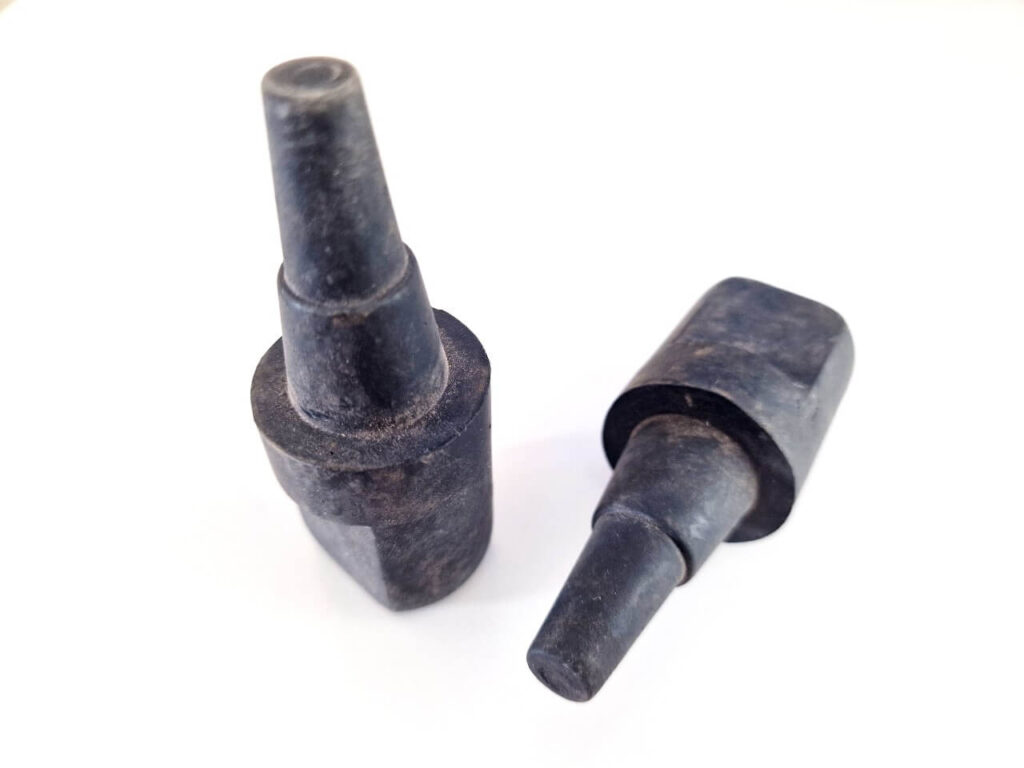
You will still have some water come out of the radiator, so make sure you are prepared with lots of old towels or a wet vac if possible.
Summary
Whether it’s because you have noisy radiator valves, leaking, or you just don’t like the look of it, changing a radiator valve is often needed. Draining the system is the best and safest way to do it but it does take longer.
It's not an easy job for someone who hasn't done it before, so if you get frustrated easily you should probably call someone else to do it.
Feel free to ask any questions in the comments below, and I’ll do my best to help. If you found this post helpful, please consider sharing it.
FAQs
Can I change a radiator valve myself?
Yes, you can change radiator valves yourself, but if you haven’t done any type of plumbing before I wouldn’t recommend it.
How do you remove the top of a radiator valve?
There are a few different ways to remove the top of a radiator valve, it all depends on which type of valve. If it’s a thermostatic radiator valve, then it should screw off from the ring with your hand or some water pump pliers. Most lockshield valve tops will pull or screw off with your hand, but if they’re old and stubborn, you might need to use some water pump pliers to force it off. If there is a screw in the middle, you will need to remove the screw before you remove the top of the radiator valve.
Which way do you turn a radiator valve?
You must turn the radiator valves clockwise to close it and turn the radiator off, and anti-clockwise to open it.
Do I have to drain the central heating to change a radiator valve?
It is possible to not drain the central heating to change a radiator valve but most of the time you will have to. If you have a vented gravity central heating system then you can bung the tank feed and vent pipe with some rubber bungs but you will still have to partially drain the system.
