Last updated on March 19th, 2026
Is your radiator not working, leaking, rusting, or just not powerful enough? Whether faulty or due for an upgrade, replacing one can be simple or tricky, depending on your system. As a full-time heating engineer with over a decade of experience, I’ve replaced countless radiators and handled all kinds of setups.
Installing a column radiator video
Replacing a radiator with the same one
For the easiest radiator swap, stick with the exact same make, model, and size. This way, you can replace it without draining the central heating system. You can also reuse the existing wall brackets – just undo the nuts on the radiator valves, lift off the old radiator, and hang the new one in its place. Quick and hassle-free.
Removing the radiator
The first step in replacing a radiator is removing the old one. To do this properly, you should drain the central heating system. It is possible to remove a radiator without draining the system, but this won’t allow you to replace the radiator valves.
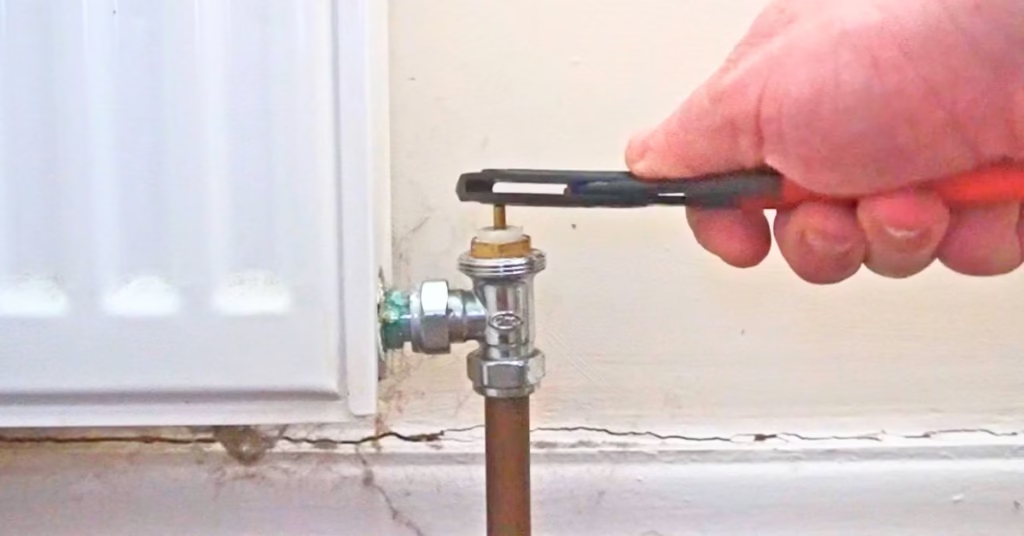
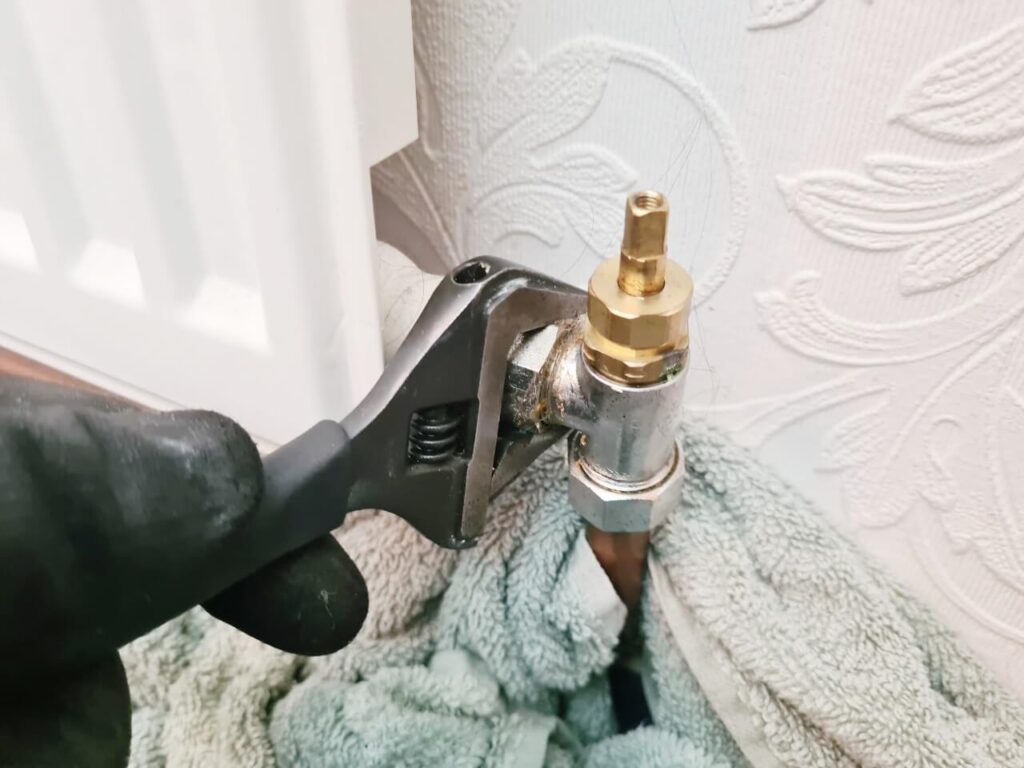
- Undo the nuts on the valves with an adjustable spanner
- Disconnect the radiator valves if you are replacing them
- Lift the radiator off the brackets on the wall
Replacing a radiator without draining the system
If you managed to buy the exact same radiator to replace, you can change it without draining the system:
- Put some old towels under the radiator valves
- Close both valves fully
- Put a plumb tub under a radiator valve
- Crack the nut in between the valve and the radiator
- Let the water out slowly into the plumb tub
- Keep emptying the plumb tub until the water stops coming out
- Undo the nuts on both valves fully
- Lift the radiator off the wall brackets
- Take the old tails out of the old radiator and fit them on the new one with at least 15 wraps of PTFE tape
- Hang the new radiator on the old wall brackets
- Connect the tail nuts to the old valves and tighten them up with an adjustable spanner
- Fit the new bleed valve and blank nut that come with the new radiator
- Open both valves
- Bleed the radiator with a radiator bleed key from the radiator bleed valve
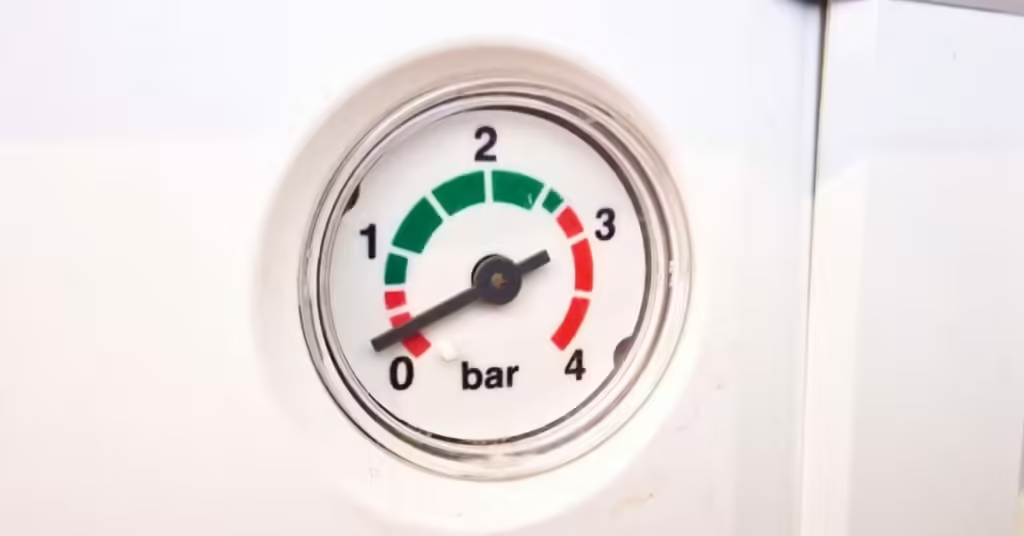
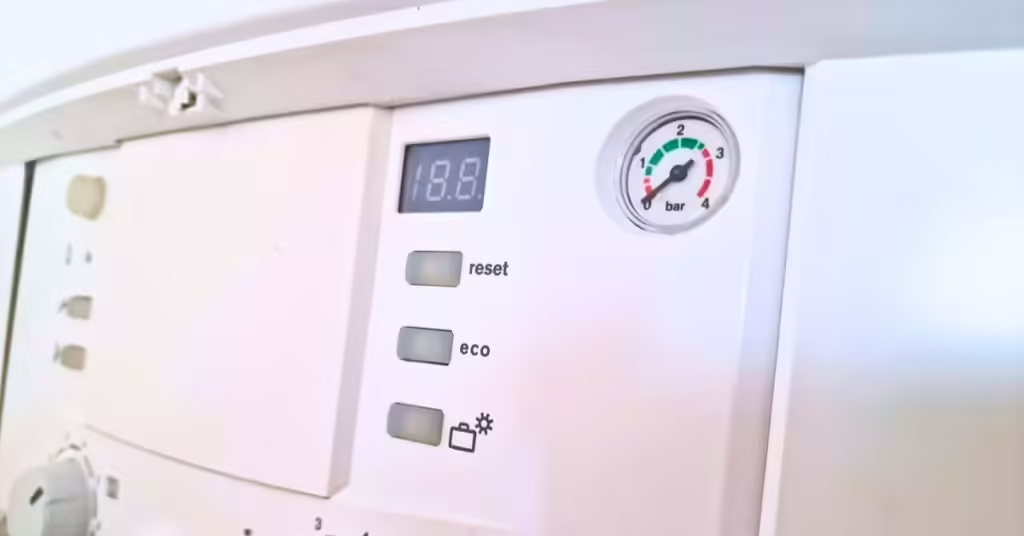
- Repressurise the boiler
- Turn the heating on and test the radiator
Replacing a radiator with a smaller one
Swapping a radiator for a smaller one is more challenging. The new brackets will be in a different position, and while fixing them is easy, getting the height right to match the existing pipework is the tricky part.
This is the most common size adjustment I see, usually when replacing an old imperial-sized radiator with a slightly smaller metric one. Just make sure the new radiator has enough BTU output to heat the room.
Sometimes, a larger radiator is needed instead. This is even trickier, as the pipework must be adjusted to fit, making it a bigger job than swapping for a slightly smaller one.
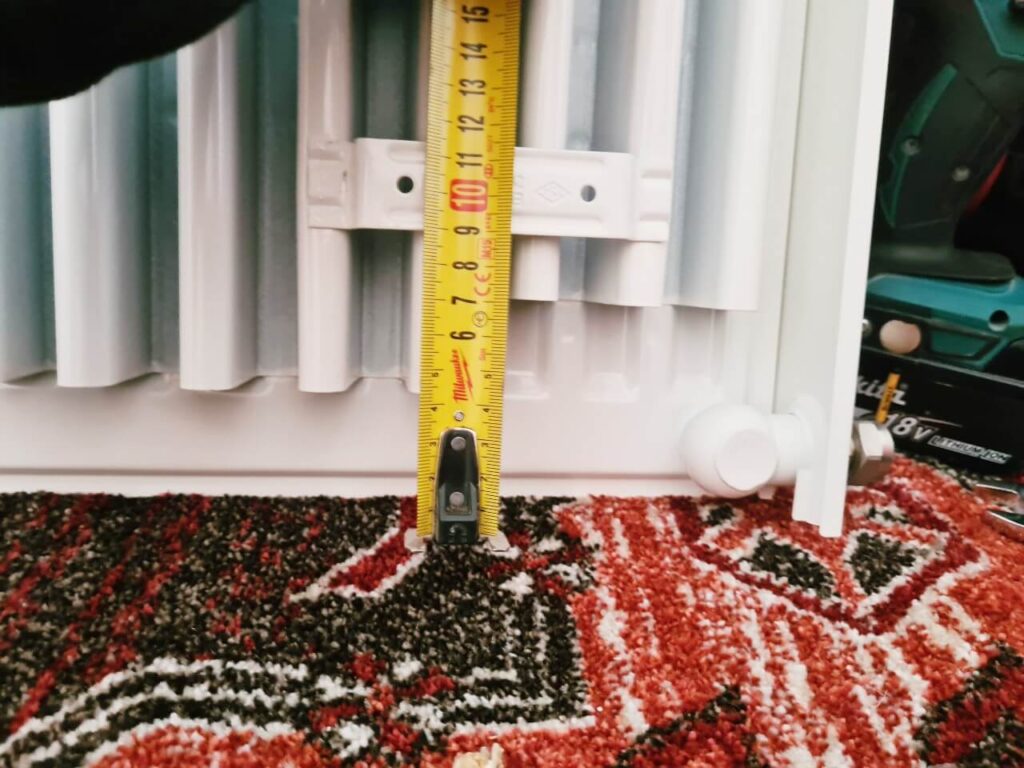
How to measure a radiator
Measuring a radiator is simple – no need to overthink it.
For the length, run a tape measure along the top from one edge to the other.
For the height, place the tape measure at the bottom edge and extend it to the top.
That’s all you need to note down!
Replacing old radiators with new sizes
Old imperial-sized radiators are measured in inches, while new ones use millimetres. It’s common to replace an imperial radiator with a metric one, but finding an exact match isn’t always possible.
Some websites sell old imperial sizes, but they can cost around £400, whereas the closest metric equivalent might be just £100. In most cases, you’ll need to choose a radiator that is slightly shorter or longer. Height doesn’t matter because the length needs to match the existing pipework.
I always go slightly smaller and use longer radiator valve tails to make up the difference. This makes the swap much easier.
Radiator valve tails
You can get 60mm long radiator valve tail extensions (or longer ones) and cut them down with a standard pipe slice, or with a hacksaw, to the length you need.
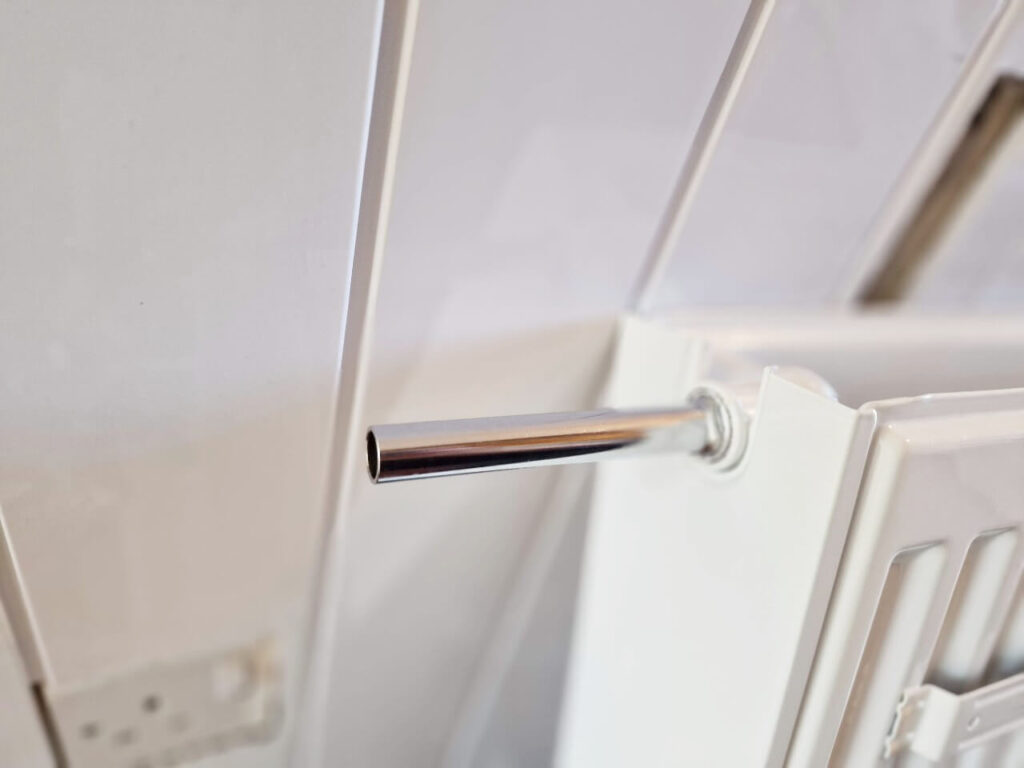
These are what I use most of the time and always have at least a couple on the van which can be fitted easily with a radiator spanner key.
Adapt the pipes
It won’t always be possible to use tail extensions if the size difference is too large. If you need a much larger radiator, you may have to adapt the old pipes to fit.
This isn’t the easiest part of the job, as you’ll likely need to lift the floor to access the pipes. You can adjust them above the floor, but it won’t look as neat. Accurate measurements are essential to avoid extra work.
How to fit a new radiator
Here is my process to fit the new radiator:
This applies to standard panel radiators only. Column radiators, and other types, are totally different to fit.
Stand the new radiator against the wall exactly where it’s going in between the pipes. Then mark the wall with a pencil in the centre of the brackets attached to the new radiator.
This is where the new wall brackets will go.
Measuring
For the height of the new brackets on the wall, you will need to take some measurements. First, measure the height from the floor to the centre of the old radiator valve pipe hole.
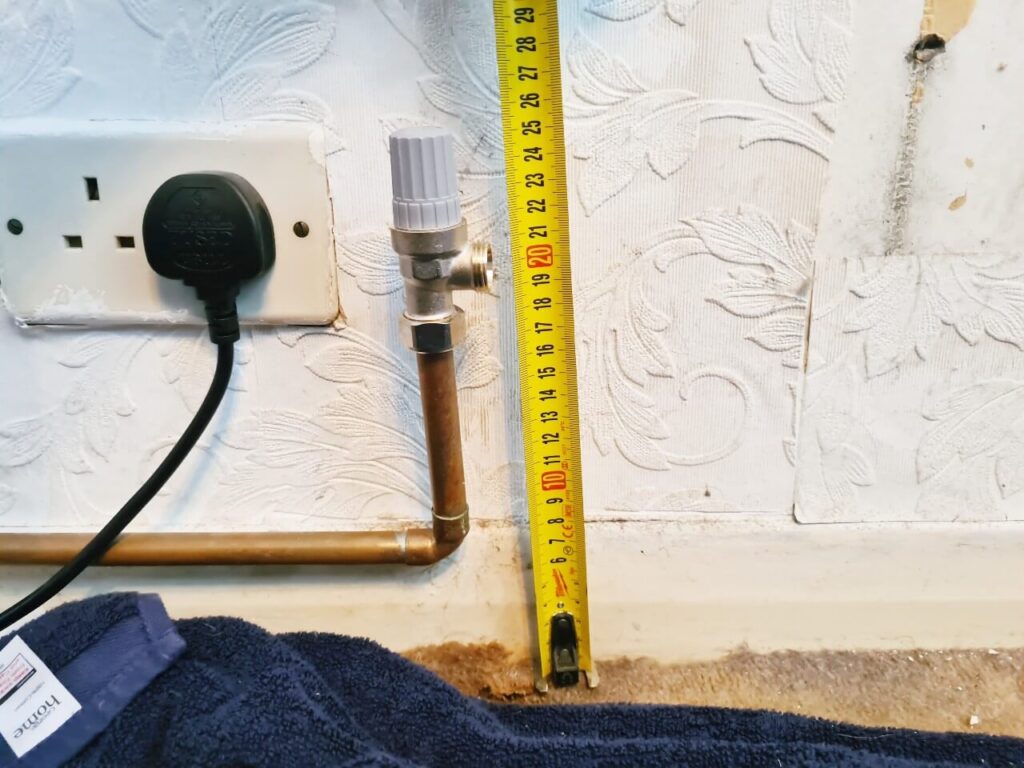
Then, measure from the bottom of the fixed bracket on the new radiator to the centre of the new tail.
This can be tricky. Add these two measurements together, and then mark the wall in line with (below) one of the other pencil marks you made.
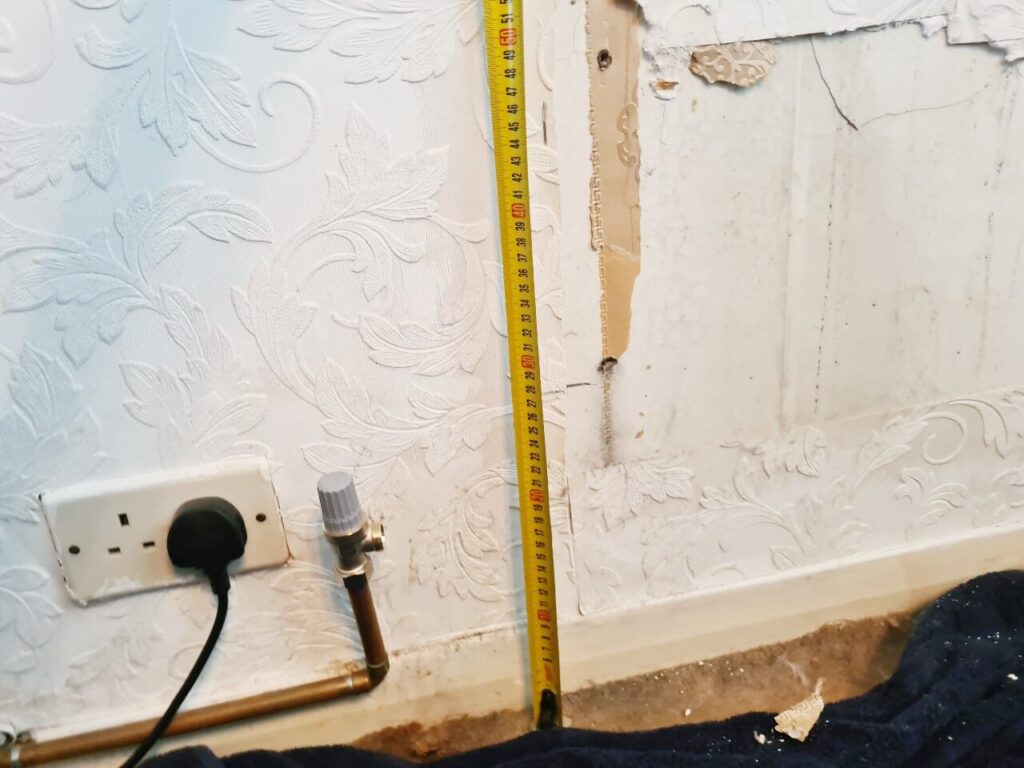
This is where the bottom of the radiator bracket will sit, not the wall bracket that gets fixed to the wall, but the bottom of the bracket on the radiator.
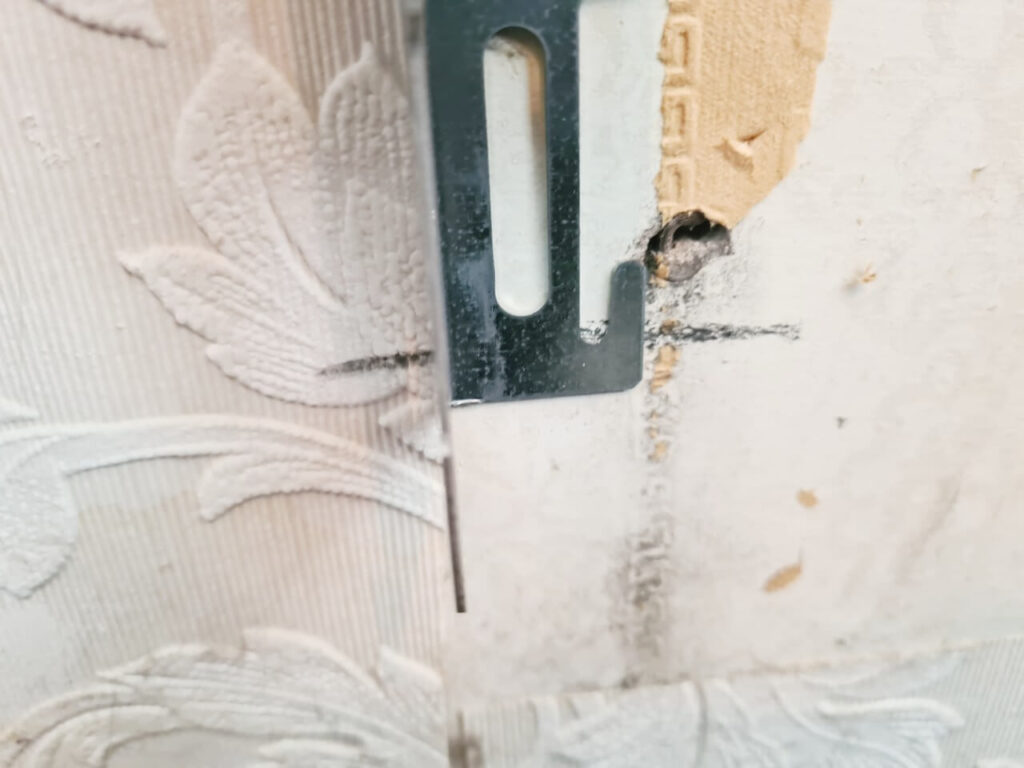
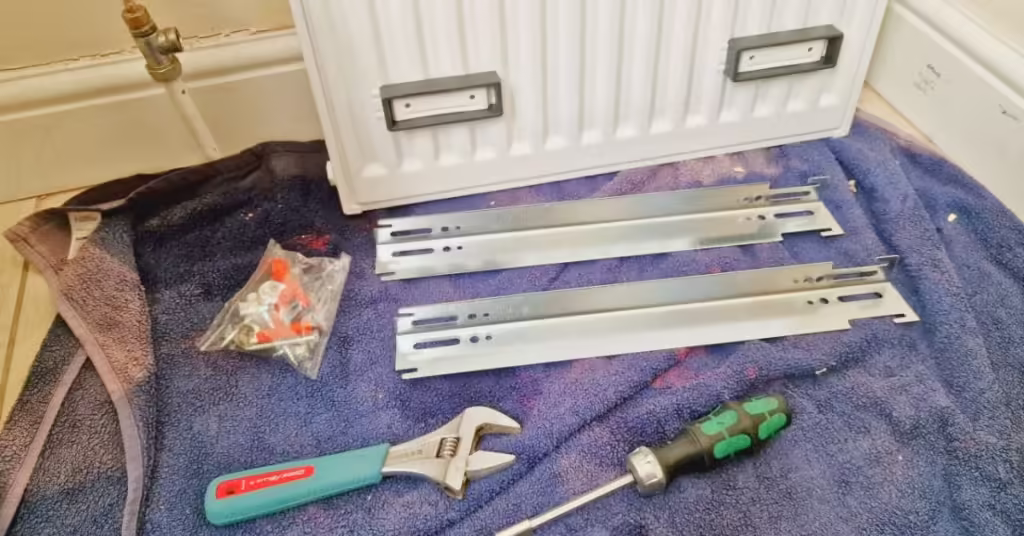
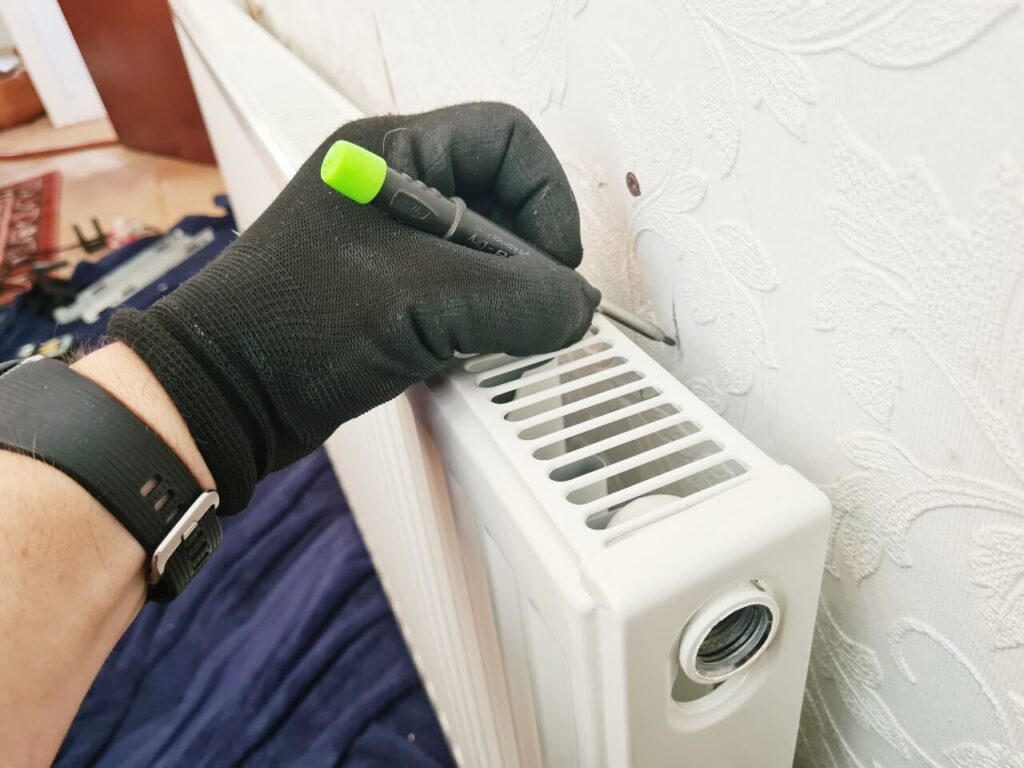
Fit the new wall brackets
Once you have this marked correctly, hold the wall bracket against the wall and use a pencil to mark all the screw holes. Then you can drill and plug the wall and fit the first wall bracket.
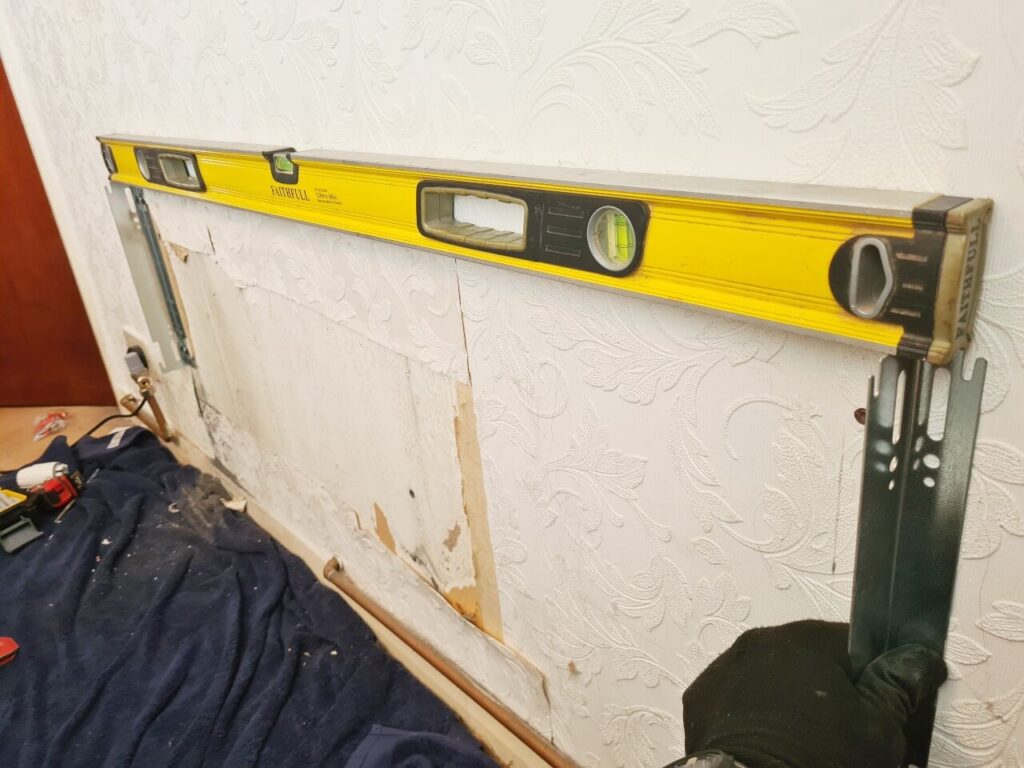
Use a spirit level to mark the height of the other wall bracket in line with the other pencil mark, then fit that one.
Fit the new radiator
Now time to fit the new radiator on the wall brackets:
- Lift the radiator onto the brackets
- Mark the long tails where they will sit inside the old valves with a marker
- Lift it off the brackets
- Cut down the tails using a 15 mm pipe slice (or a hacksaw will do the job)
- Rehang the radiator onto the brackets
- Fit new 15 mm nuts and olives on the tails
- Fit the radiator valves onto the tails and tighten the nuts up with a spanner
- Fit the bleed valve and blanking cap on the opposite side and tighten with a spanner
- open both valves,
- Bleed the radiator and repressurise the boiler
- Check all the other radiators for air with the radiator bleed key
- Repressurise the boiler again if needed and bleed all the radiators
- Turn the heating on to make sure the new radiator is working and there are no leaks
That is how to fit a new radiator.
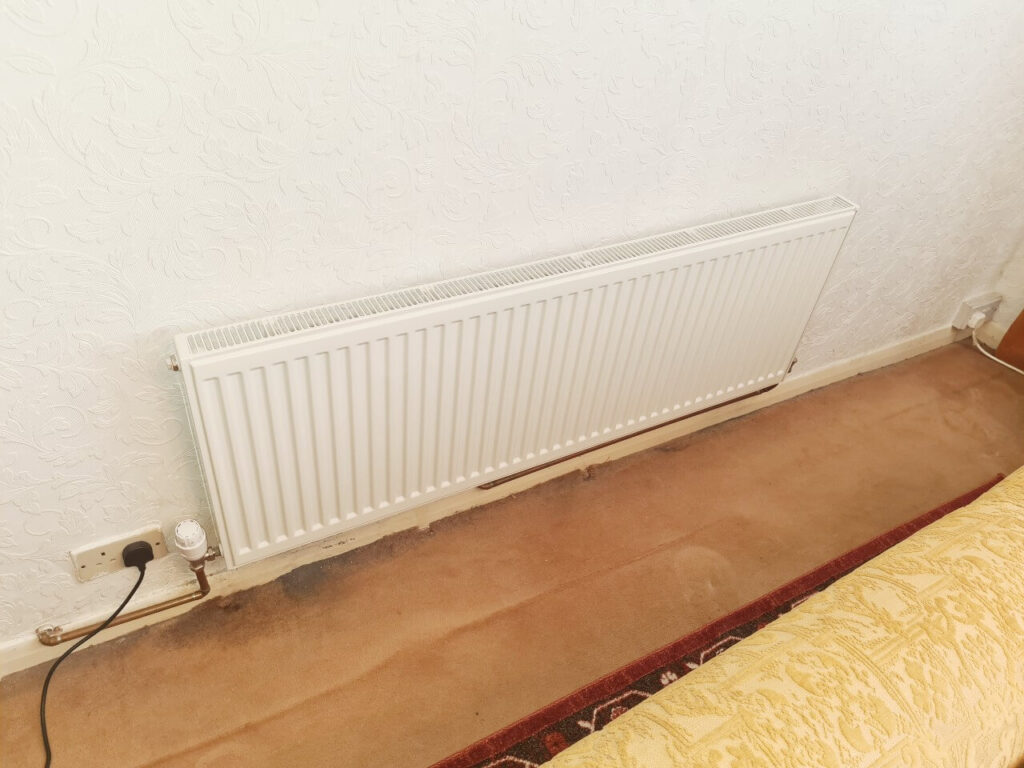
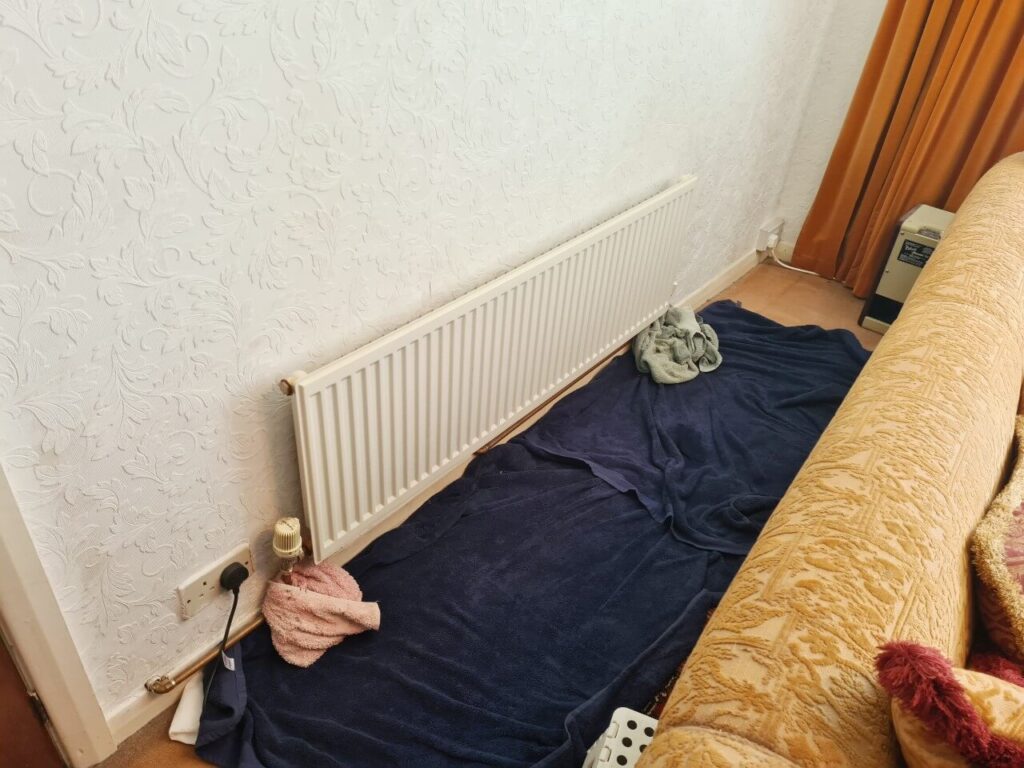
The radiator replacement job in the photos was changed with the same-sized radiator. I also replaced the valves as I do with all radiator replacements. Make sure to fit the new radiator bleed valve and blank nut that come with new radiators. More details here: how to replace a radiator bleed valve.
Conclusion
Learning to change a radiator can be a daunting task and should ideally be done with two people and a decent adjustable spanner.
If you can find the exact same radiator that you are replacing that is the easiest and best way to go. Replacing with a different-sized radiator is a lot trickier and not recommended if haven’t done any plumbing before.
Feel free to ask any questions in the comments below, and I’ll do my best to help. If you found this post helpful, please consider sharing it.
FAQs
How long does it take to change a radiator?
How long it takes to change a radiator depends on what needs to be done. In my experience, it takes anywhere from 20 minutes to 3 hours or more to change a radiator. A 20-minute radiator replacement might be if you are changing a radiator like for like and keeping the same brackets, and you come across no problems at all.
A 3-hour or more replacement job might be replacing it with a different radiator, where you need to pull the floor up, adapt the pipes to fit the new radiator and measure and fit new wall brackets.
How easy is it to change a radiator?
It is not easy to change a radiator. If you are good at DIY, then changing a radiator might be easy when changing with the exact same radiator and using the old wall brackets. Most of the time it’s not possible to find the exact same radiator to change as the old one is not made anymore, so you will most likely have to fit new wall brackets (difficult) and possibly adapt the pipes (difficult).
Is it possible to replace a radiator without draining the system?
Yes, it is possible to replace a radiator without draining the central heating system. I have done it many times. You have to close both radiator valves and isolate the radiator to do this, but if any of the valves are broken and won’t close (not uncommon), then you will have to drain the system.