Last updated on March 2nd, 2025
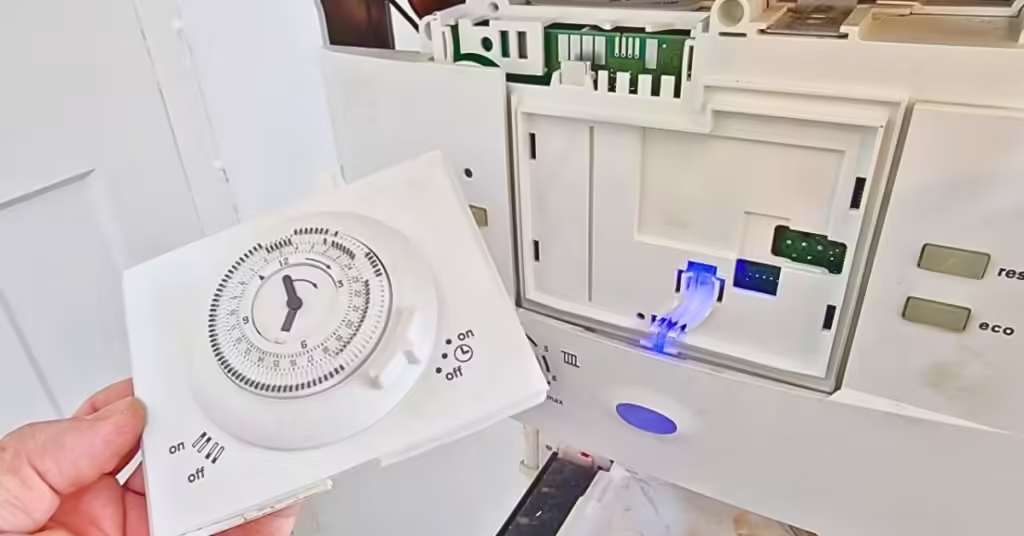
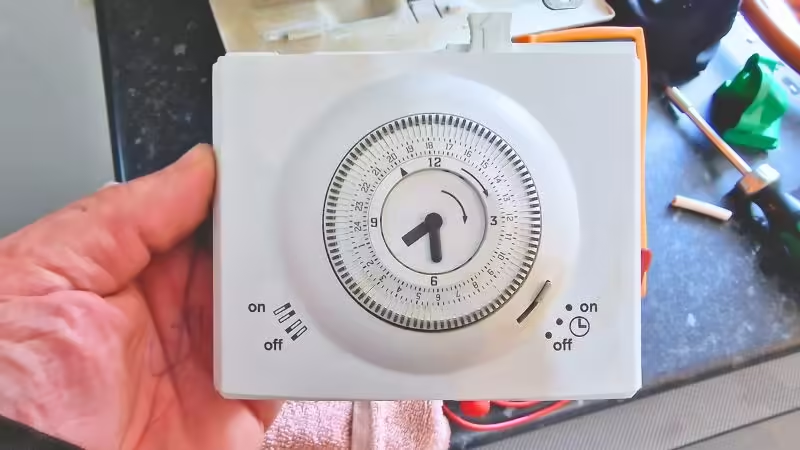
When your MT10 timer is broken your heating will not work. Replacing the MT10 timer (or MT10rf) on a Worcester boiler is very simple once you have removed the boiler casing.
I have been carrying out boiler replacements and repairs for over ten years and replacing an MT10 timer is very basic. Here I’ll show you the step-by-step process for an MT10 Worcester timer replacement. This is the same process for the MT10rf model and other Worcester plugin timers.
Video guide
Step-by-step guide
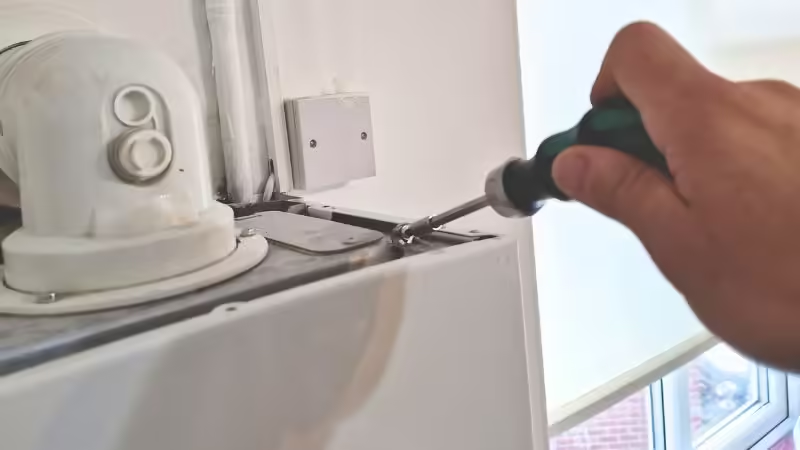
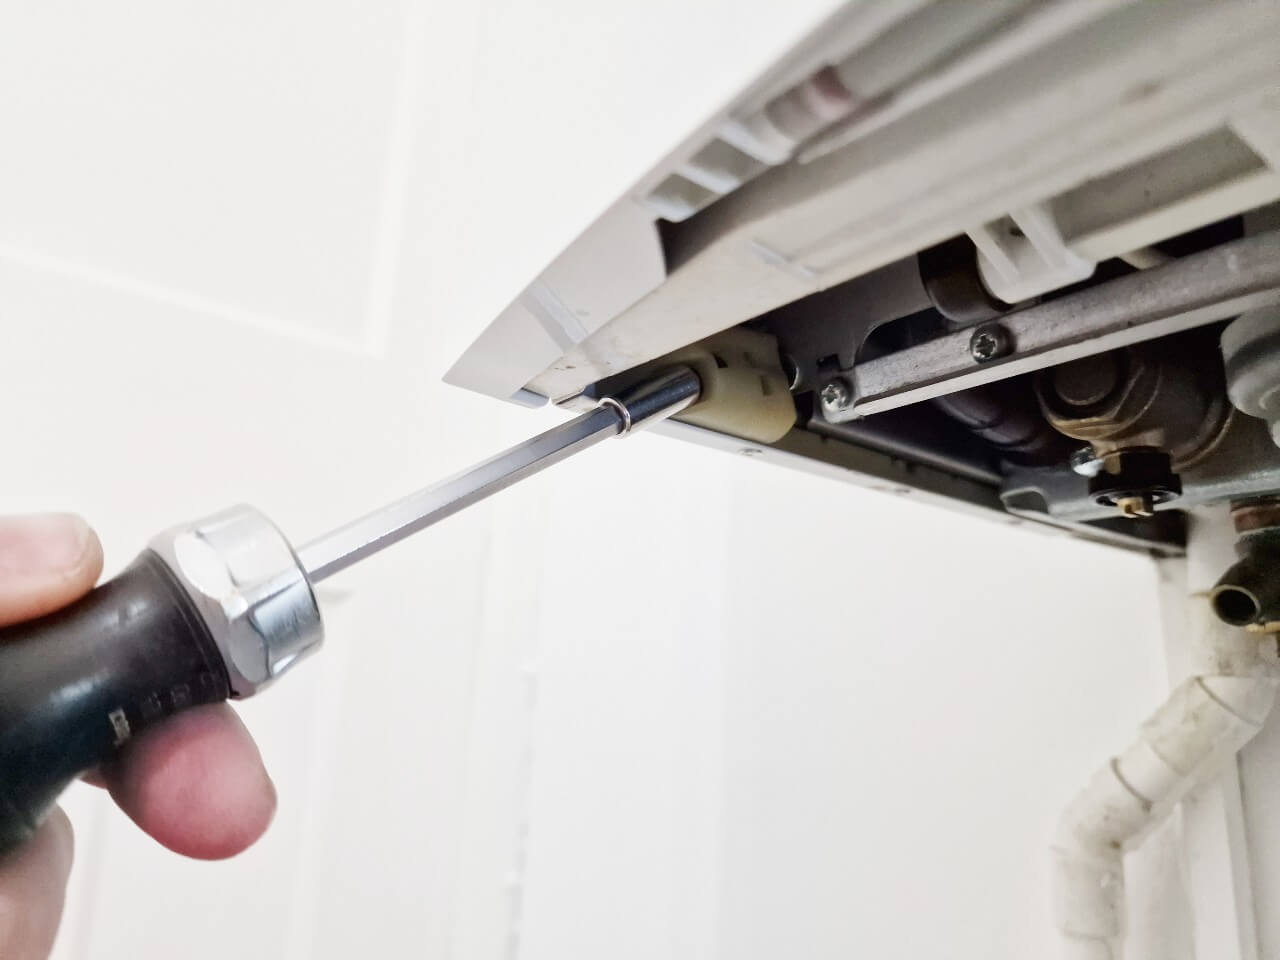
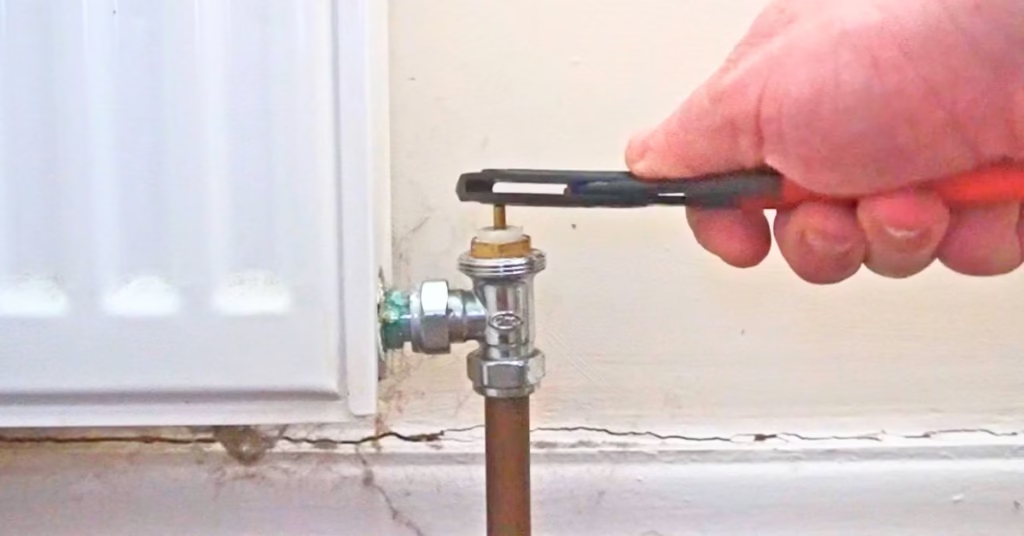
1. Remove the boiler casing
Removing the boiler casing can be tricky and varies on different Worcester boilers. On this model (Greenstar 28i Junior) there were two screws on the top and two screws on the bottom that needed to be loosened or removed with a screwdriver.
There are sometimes clips to unclip also but once the screws and clips are loosened then the casing should pull forward and off.
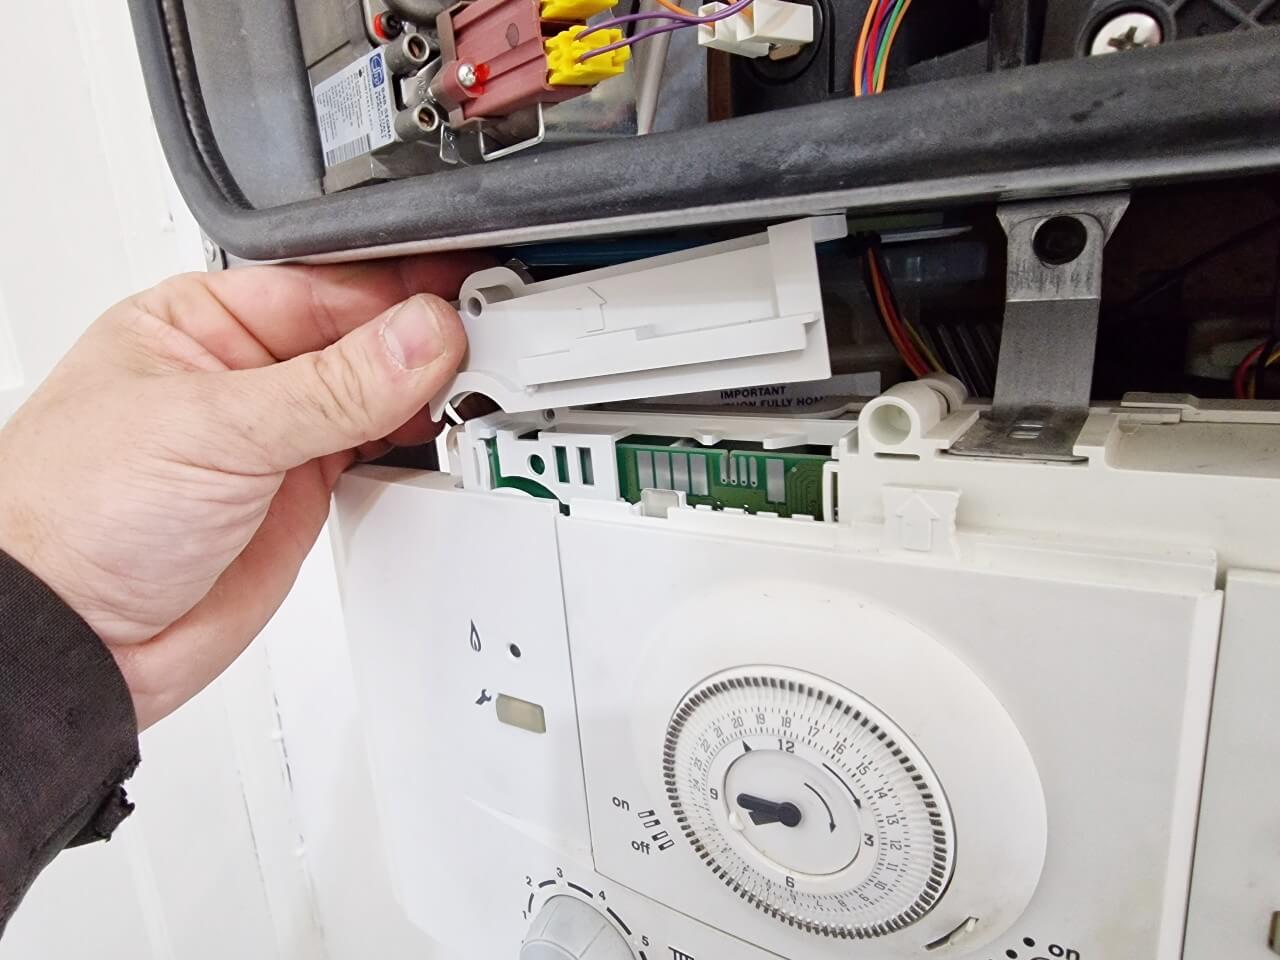
2. Remove the screw and holder
Next, you must remove the plastic holder that keeps the timer in place. It’s held in by one screw that needs to be removed first.
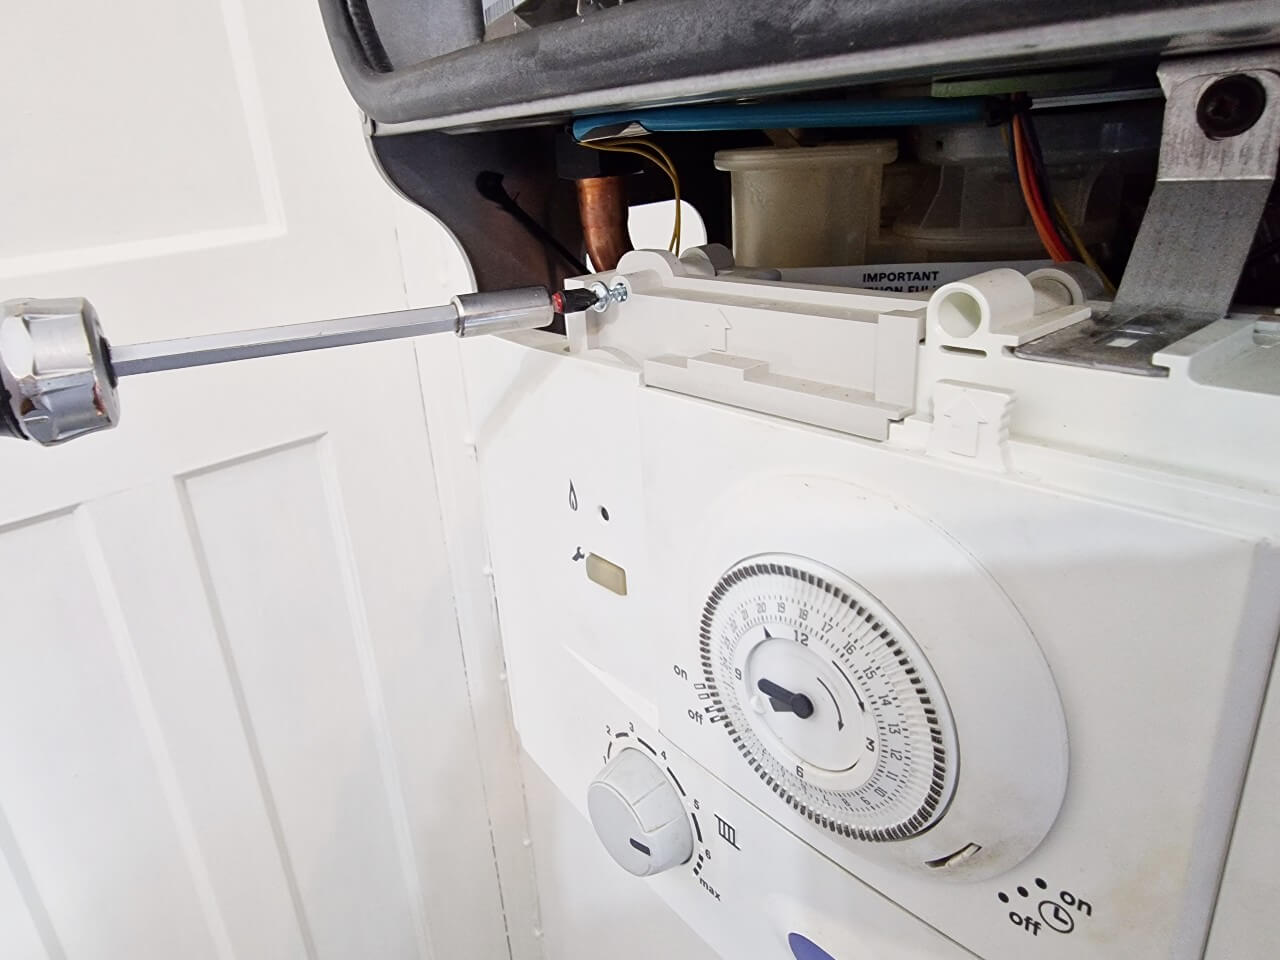
Then lift the plastic holder up and off.
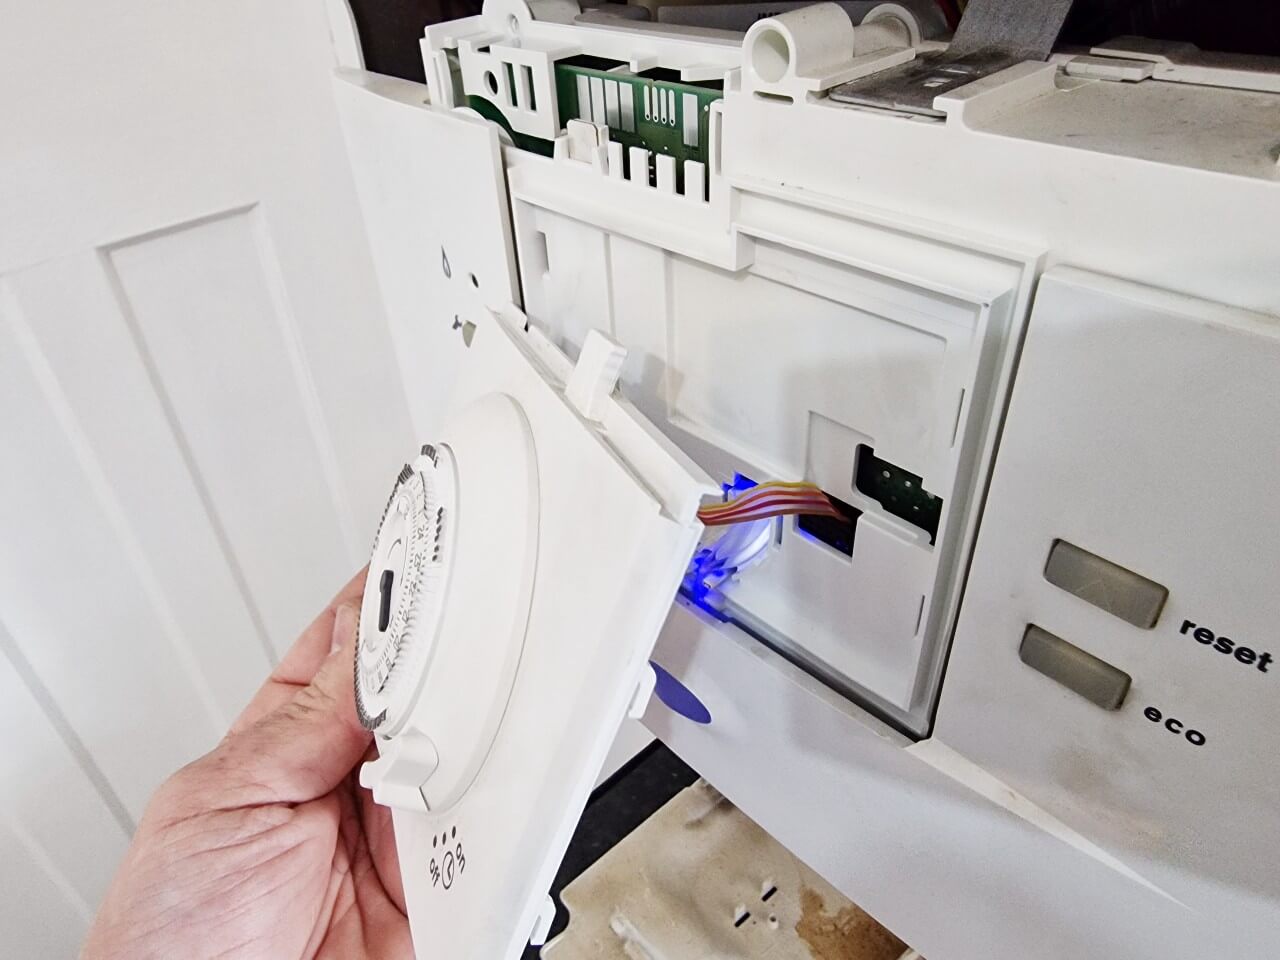
3. Remove the old MT10 timer
Next, you must slide the timer up to remove it and disconnect the plug behind it by pulling it straight forward.
4. Fit the new timer and holder
Next, plug in the plug on the new timer and slide the new timer down into place. Then refit the plastic holder above the timer and screw in the screw to secure it in place.
5. Refit the boiler casing
This is the hardest part of replacing a Worcester MT10 timer because it can be very tricky getting the bottom screws back in properly. Slide the boiler casing over the boiler and screw in the screws and make sure any clips are clipped back on.
Worcester boiler guides
Summary
In most situations, replacing an MT10 timer on a Worcester boiler is very simple and should take less than 15 minutes.
Having difficulty refitting the boiler casing is always the biggest problem in my experience. Trying to get the screws back in on the bottom screw connections can be a nightmare and is a terrible setup on older Worcester boilers.
Feel free to ask any questions in the comments below, and I’ll do my best to help. If you found this post helpful, please consider sharing it.

When I changed my timer the holder above it broke are replacements available I’ve tried looking online but no joy
I have a DT20RF wireless stat control on Worcester Greenstar junior 24i.
I want to fit a Hive Mini. Do I just leave the DT20RF and wire the Hive Mini as per instructions?
Yeah you can, just make sure it’s permanently turned on.
Steven, plese, can you tell me how the gas boiler Worcester MT10 and Worcester Greenstar Sense I Intelligent Wired Room Thermostat are connected to which terminals?
Many thanks for the article.
My elderly neighbour was quoted £200 to replace his timer. Then, when the guy came out, he tried to get him to agree to a full service plus timer replacement for £400+.
Now we can just get a timer (£60-70) and do it ourselves 🙂
You’re welcome!